This was my fourth play/facilitating of the Königgrätz scenario from Chris Pringle’s Bloody Big European Battles!. The rules used were Bloody Big Battles (BBB) and the figures are 6mm Baccus. Buildings are from Total Battle Miniatures and the terrain is homemade. I facilitated the game while six players (three on a side) refought the battle. One Prussian player had to leave early, so I took over his role to finish the game. The players completed all nine turns of the scenario in six hours. This included the Austrians making changes to the historical Austrian deployment before play and that many of the turns were resolved sequentially by individual players instead of simultaneously between pairs of players. They opted for this as everyone wished to see what was happening on the other parts of the battlefield. All the players had participated in at least one previous BBB game, but that game was several months ago, so we moved through the turns at a slower pace. At the end, all the players said it was an excellent scenario and a very enjoyable play.
We used several house rules during play:
- Columns could move freely in any direction without penalty.
- Units outside of any enemy units received a +2 modifier for their movement rolls.
- Any movement outside the forward 45º arch required a facing change.
- Low on Ammo could be cleared by using a half move or by the current rule.
- Difference in troop quality added a 1 advantage in Assaulting.
- Artillery as the target of an Assault that fired at close range would be reduced if it lost the Assault at a result of 1-3 difference.
Cavalry units were doubled in size from the scenario (e.g. Austrian 3 stands A Cavalry 1st & 2nd Reserve Cavalry became 6 stands) and split into their historical units (1st Reserve Cavalry 3 stands and 2nd Reserve Cavalry 3 stands).
All of these House Rules worked well. The troop quality was only used once (Prussian Guard made one Assault) and the artillery as the target of assault didn’t happen during the game.
Set-up
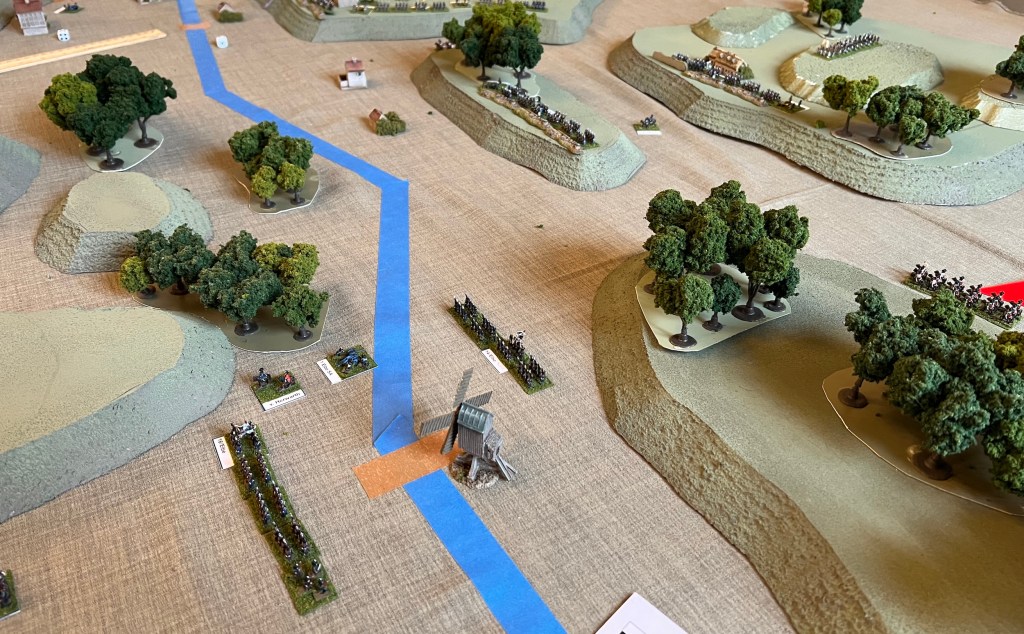
The fixed Prussian objectives were Sadowa, Chlum, and the rolled-for objectives were Holawald, Problus, Neděliš, and Stěžer.
The Austrians changed a bit from the historical deployment. VI Corps was moved forward and deployed behind X Corps facing south, while I Corps was moved closer behind III Corps but remained in reserve. 1.Reserve and 2.Light Cavalry Divisions were positioned directly behind the II Corps. 2.Reserve Cav was moved forward between the I and Saxon Corps and 3.Reserve Cavalry was placed south of the 2nd Saxon Division. The remaining Austrian units were left in their historical locations.
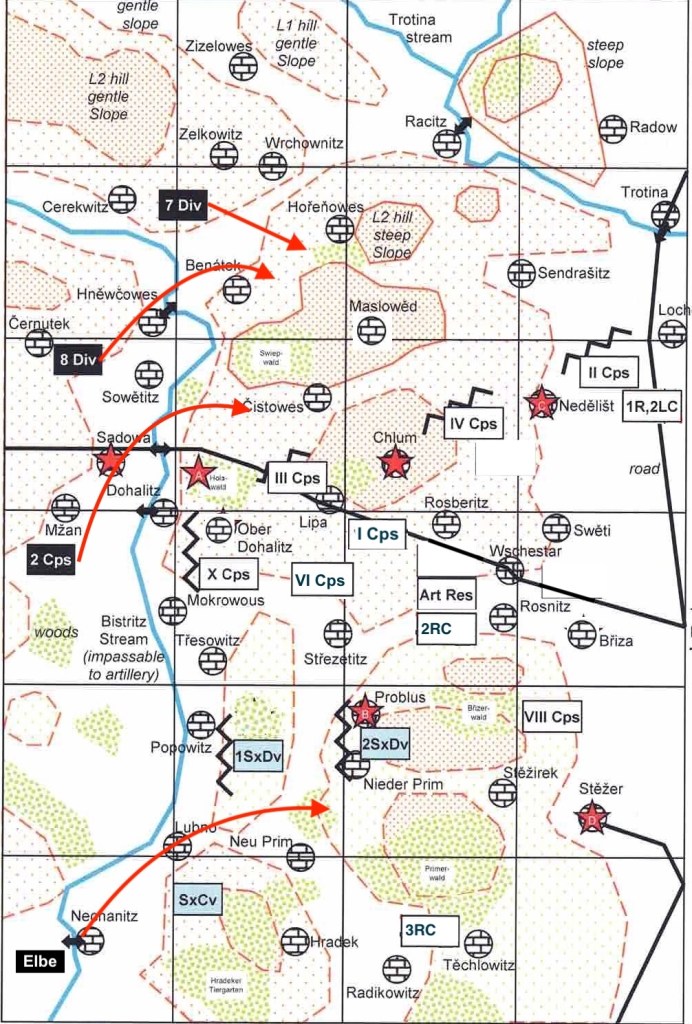
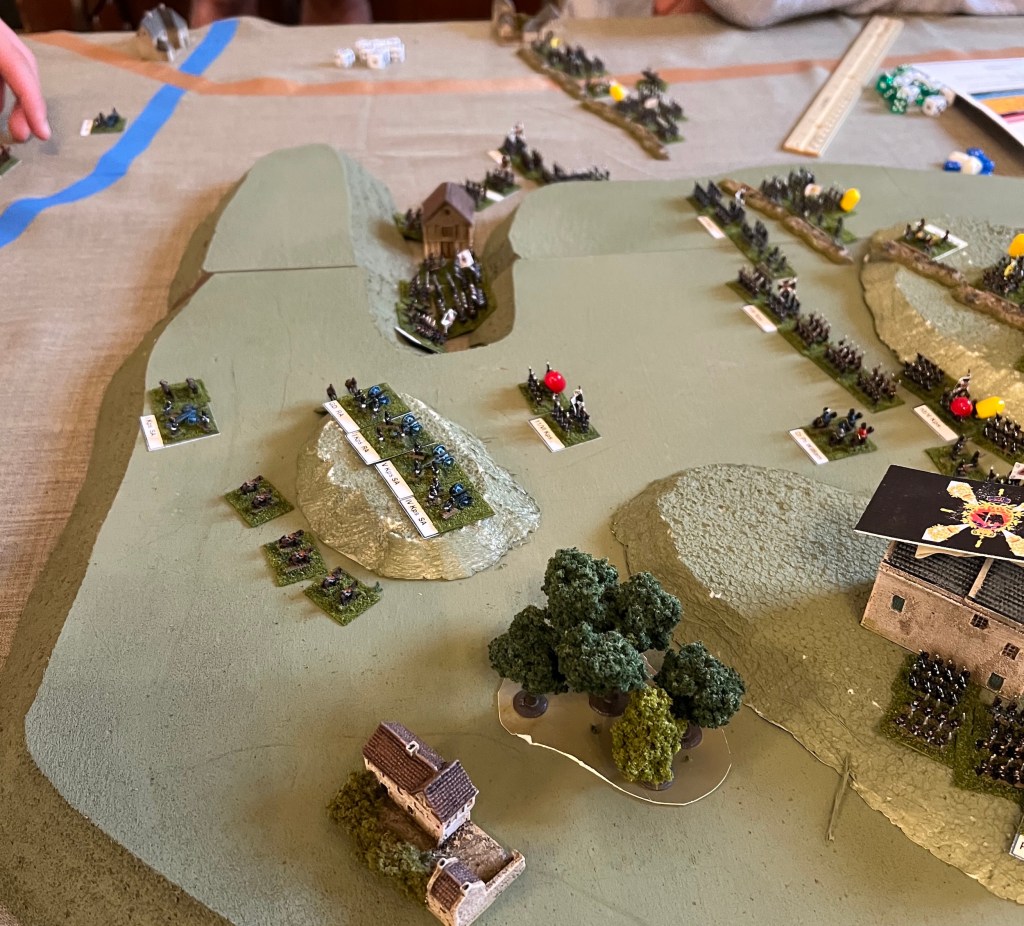
The Austrian starting positions. The Prussian objectives and their initial plan. The Prussian Objectives are the red stars.
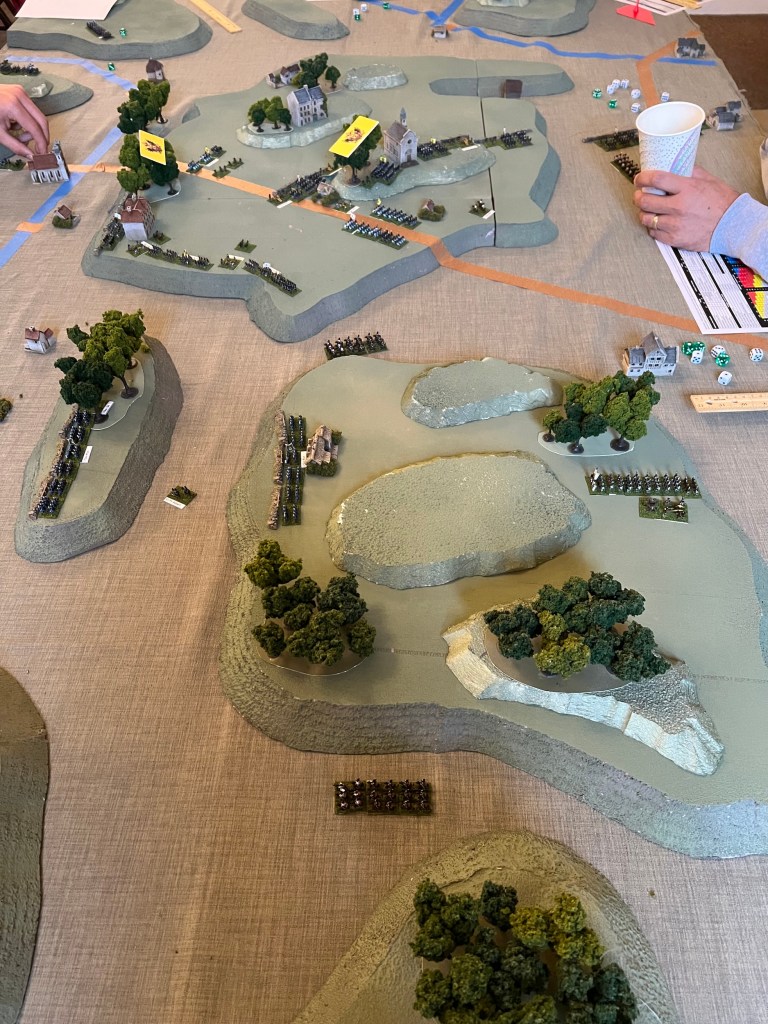
A picture of the Austrian initial positions looking south to north.
At 0800 the Prussian 1.Army advanced northeast to towards Čistowes and Maslowěd, bypassing the Holawald. The Prussian IV Corps moved directly towards Maslowěd while the II Corps moved along the road and crossed over the bridge at Sadowa, angling to move north of the Holawald. This removes any immediate pressure on the Austrian X Corps around Ober Dohalitz and Holawald and will allow the Austrians in the Holawald to harry the flank of the Prussian movement towards Lipa. This movement also delayed any Prussian attack against the Austrian position until the IV Corps could get into position. In reaction, the Austrians ordered the 1st Reserve and 2 Light Cav to move forward and towards Racitz to threaten the flank of the Prussian IV Corps. The Austrians also ordered the I Corps forwards of the III Corps, establishing a line anchored off the Holawald. The 2.Reserve Cav was also order forward and moved into position south of the VI Corps.

0900. Units of the Prussian 1.Army continued to enter and deploy towards the northeast. The Prussian IV Corps moves towards Maslowěd while the II Corps holds short of the Holawald. The 3.Div is formed in line on the east bank of the Bistritz Stream while the 4.Div is still on the west bank in column.

The Elbe Army was now beginning to appears in some strength and was crossing the Bistritz Stream at Nechanitz. Seeing an opportunity to disrupt the Prussian advance, the Saxon Cav charged the lead Prussian unit that was still in column. Both units survived the first round of assault (tied result, each lost a stand), but the immediate second round saw the cavalry thrown back (+3 result). The Austrian VIII Corps moves closer behind the Saxon 2.Division.
1000. Austrian artillery fire is causing some delays in the Prussian advance. The Prussians had yet to seriously press the Austrian position at any point. The Cav Corps with the 1.Army is moved up behind the IV Corps, leaving the Austrian X Corps uncovered. The Austrian 1.Res and 2.Lt Cav continue their move around the north end of the Austrian position as the lead elements of the Prussian 2.Army begin to appear to the north.

In the south, the 14.Div deploys against the Saxon Cav. and fires in support of the Elbe Cav. charge against the Saxons. While the Saxons take another loss, the charging Prussian cavalry is repulsed. The Saxon cavalry begins to retreat back into the Hradeker Tiergarten.
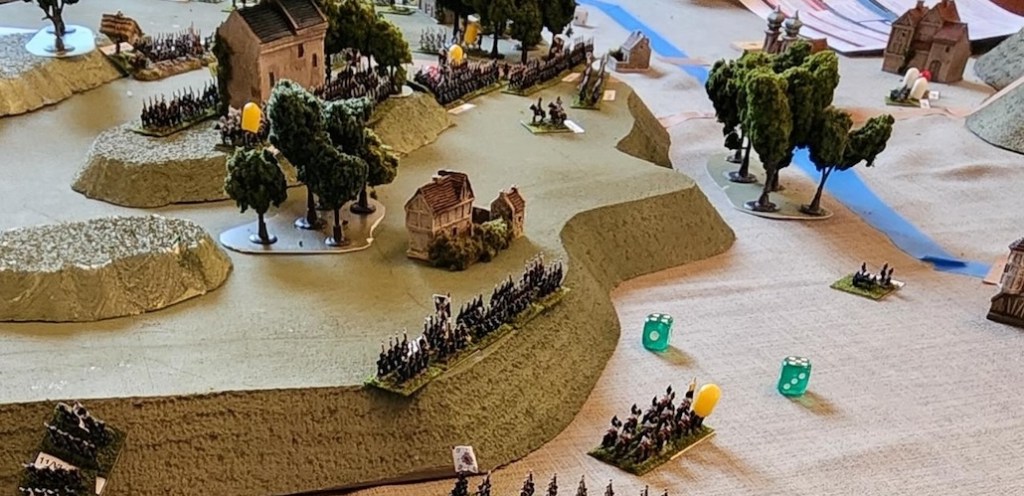
1100. The Prussian 1.Army now advances towards Lipa and Chlum with the II and III corps side-by-side, while the IV Corps still hold short of Maslowěd with the Cav Corps. The Prussian artillery is not in position to support. The Holawald is not attacked, allowing elements of the Austrian X Corps to act against the southern flank of the attack. Brigades Waldstallen & Hertwegh are ably supported by the VI Corps artillery and meet the attack in the open. The longer ranged rifled muskets, combined with the fires of Brigades Grivic & Wimpffen of the Austrian X Corps in the Holawald hammer the 3.Div of the Prussian II Corps and push it back with losses. Units of the Prussian 2.Army continued to enter from the north, but find that they need to deal with the Austrian cavalry. This slows the advance and deployment of the army.
The Elbe Army’s 14.Div continues to face off against the Saxon Cav. while the Prussian Elbe Cav. now moves towards the 1.Sax. Div. but takes a loss. The army appeared to be shaken by the cavalry attack and moves northeast towards Lubno and Popowitz bypassing the Hradeker Tiergarten to the south. The 15. and 16.Divisions follow, allowing the Austrian 3.Res Cav to take a position east of Hradek to threaten the southern flank of any advance towards Problus. This will constrain the Elbe Army’s ability to maneuver for the remainder of the battle. The Saxon Cav. now had a terrible movement roll and it routs off to the east. The Hradeker Tiergarten is uncovered and the 3.Res. Cav can be threaten and forced off its flank position by a thrust through the woods.
1200. The Prussian 1.Army used the hour to reposition units for the push towards Chlum. The Austrians continue to use their longer ranged muskets to advantage to disrupt and slow the Prussian preparations. The 2.Army begins to attack the two Austrian Cav. Div., but find them different to eliminate (a series of bad dice rolls). The Austrian cavalry however also finds it difficult to maneuver to find a way out from the closing Prussian units.
The Elbe Army decides not to enter the Hradeker Tiergarten and is pushing the 15. and 16.Div. to line up with the 14.Div. to attack the Saxons. The Elbe cavalry is again fired upon and another loss plus a bad movement roll forces the cavalry to retire to the west. Repositioning the Prussian artillery to support the attack is taking longer than expected as the Bistritz Stream and the Austrian Cav. near Hradek confine the Prussian units to a limited maneuver area. The Austrians decide to sent the I Corps and the 2.Res. Cav. south in support of the Saxons. It will take two hours for these troops to move into position.
1300. 1.Army again pushes forward towards Lipa with the III Corps. The 6.Div. is stopped and fails to close with the defenders. Brigades Waldstallen & Hertwegh score hits on the 6.Div, but go low on ammunition. Brigades Grivic & Wimpffen of the Austrian X Corps in the Holawald prevent the 3.Div of the Prussian II Corps from supporting the attack and confines the Prussian attack to the open ground between the woods in the south and the woods to north near Maslowěd. However the two Austrian brigades are destroyed in the fighting, but the Brigades Rosenzweg & Jonak from the VI Corps replace them in the woods.
The 2.Army finally destroys the Austrian cavalry and continues to move into position.
Elbe Army is working towards the 1.Saxon Div. The Austrian VIII Corps moves into the woods south of the 2.Sax. Div. intending the defensive line further south. Any attempt by the Elbe Army to flank the Saxon position would face the Austrian 3.Res Cav to their front and the VII Corps on their flank. The Prussian 14.Division begins to take some losses.
1400. The Prussian 6.Div. again attacks and aided by the enemy’s lack of ammunition, pushed the two brigades back behind the Austrian III Corps with heavy losses. The Austrians in the Holawald still prevent the Prussians from moving other divisions forward in support.

2.Army’s Guard and I Corps moves towards the Austrian IV Corps east of Chlum.
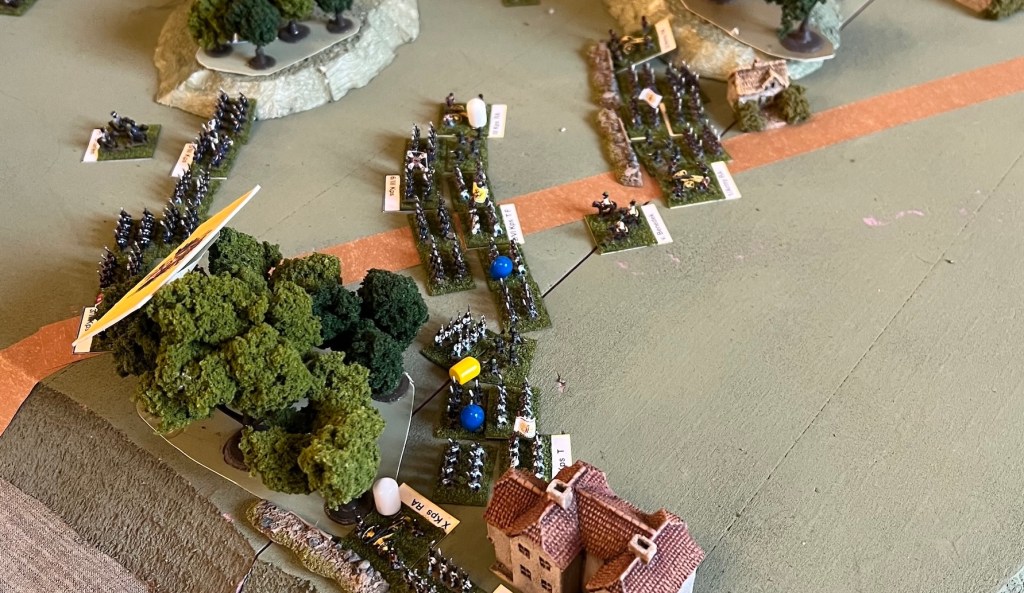
The Elbe Army launches its attack against the 1.Sax Div with the 14.Div. followed by the 16.Div, but the attack is stopped by fire. Brigades Poschacher & Piret of the Austrian I Corps move up behind the 1.Sax Div in support, while Brigades Leningen & Ringelshiem of the same corps position themselves at to Třesowitz to threaten the flank of the attack. 15.Div. can’t pivot to attack the Saxon flank as the Austrian cavalry and VIII Corps fixes it in place.
1500. The 1.Army attack falters as 6.Div. is held in place while its support can’t move forward. Brigades Rosenzweg & Jonak attack out of the Holawald and roll over the 3.Div. and push back the 5.Div. 6.Div is now isolated facing the Austrian III Corps.
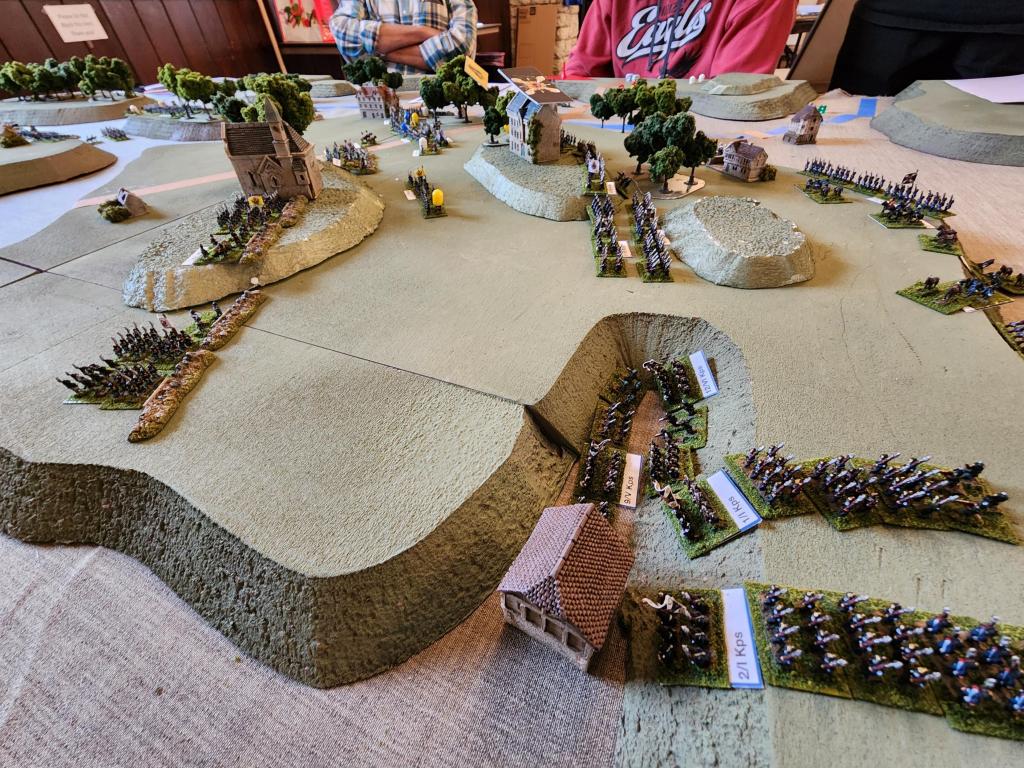
2.Army establishes a grand battery opposite the Austrian line to support the attacks. Prussian IV and Guard Corps begin their attack on the Austrian main position around Chlum, supported by the grand battery. The battery does damage to the Austrian IV Corps but the latter continues to hold. Pressure is now also starting against the Austrian II Corps by the Prussian VI Corps.
Elbe Army goes from attacking to avoiding a disaster. 14.Div. manages to disengage and moves to cover the army’s north flank against the Austrian I Corps. However 16.Div fails to move and 14. Div. is hammered hard by Austrian fire. 15.Div, also fails to move. The Austrians are closing in on Elbe Army from two sides. The Austrian counterattack the 16.Div. while hammering the 14.Div with fires.

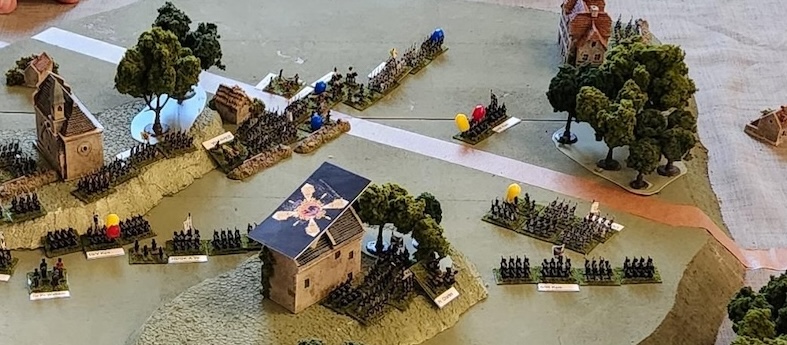
The results. The Elbe Army is effectively taken out of the battle.

1600. The 2.Army finally assaults the main Austrian position east of Chlum. The Grand Battery hits the Austrian IV Corp hard, causing numerous casualties. The Prussian VI Corps closes with the Austrian II Corps at the far eastern part of the Austrian defense and exchanges rifle fire. At the end of the hour the Austrian line is still intact but under heavy pressure.

The Prussian 1.Army effort against the Holawald and Ober Dohalitz has collapsed. The Austrian I and III Corps, along with the remainder of the X Corps are free to act against the flank of the 2.Army’s attack. The Prussian IV Corps is the only unit that can block this move.
With the defeat of the Elbe Army, the Austrians begin to move the Saxon Corps and the 2.Res. Cav north to reinforce the Austrian defense.
The 1600 turn was the ninth turn of the scenario, so the game ended. While the optional tenth turn could have been played, the Prussians were nowhere near gaining a victory. They had only captured Sadowa and had no real chance to gain another objective in that final turn. The Austrians had achieved a victory with their line of retreat open and their defensive position intact.
Analysis
So why this result. Both sides fought a fairly passive battle; the Austrians on the defense and the Prussians on the attack. Time (as always) was the crucial element. The Prussians took too much time in developing their attack.
Moving the Prussian 1.Army northward delayed any pressure on the Austrian line for two hours. Directing its attack between Maslowěd and the Holawald without securing the Holawald created an exposed flank that the Austrian X Corps could act against once the attack began, limiting the number of Prussian units engaging the enemy. The commitment of the two Austrian cavalry divisions to act against the other flank of 1.Army appeared reckless, but some luck allowed them to disrupt the movements of both the 1. and 2.Army for two hours, further gaining time for the Austrians.
The Prussian reluctance to press the 1.Army forward from Maslowěd towards Chlum and begin the attrition fight early in the battle was largely due to player inexperience. The 1.Army needed to begin shaping the battlefield for the 2.Army as soon as possible. The 1.Army artillery wasn’t much of a factor during most the battle as well as the Cavalry Corps attached to 1.Army.
The Austrians failed to leverage the open southern flank of the 1.Army. Two brigades of the X Corps and all the VI Corps remain passive for most of the battle. These units could have been committed to counterattack and used the bridge at Dohalitz to widen their attack. While moving the I Corps forward helped the defense of Lipa and the VI Corps was free to move south in support of the Saxons, a counter attack by the VI and X Corps would have achieved more and the I Corps could have remained in reserve available to support the Saxons if needed.
While all this was happening in the north, the Elbe Army was able to survive an initial threat and destroyed the Saxon cavalry. This would have created an opportunity to quickly turn the southern flank by entering the Hradeker Tiergarten. The Austrians addressed this possibility by moving the 3.Res. Cav Division to Hradek. The Saxon cavalry did cause the Prussians to unlimber their artillery on the west bank of the Bistritz Stream. This meant that it would take a minimum of two hours to reposition the artillery to effectively support any attack against the Saxons, again consuming time.
Still a push by one infantry division through the southern woods to force the cavalry back and expose the flank was not taken. The early loss of the Elbe Cavalry meant that an infantry division was now be needed to screen the southern flank. Unlike the Austrians, the Prussians didn’t have another cavalry division to reinforce the Elbe Army. This allowed the 3.Res. Cav. to effectively limit the Elbe Army to a frontal attack against the 1.Sax. Div. as the third division wasn’t free to turn the flank.
Allowing the Austrians to deploy their units rather than using the historical set-up had only a limited effect. This was mainly due to the inexperience of the players and the limited time they had to make those decisions. The only impactful change was moving the 3.Res. Cav. south to Radikowitz. This allowed the Austrians to quickly replace the Saxon cavalry in the role of flank security compressing the Elbe Army front. The other changes were minor in nature and didn’t impact the battle in any significant way.
All the players stated at the end of the game that it was great fun. This is a good scenario to refight and I can now see a possible Austrian defense that could create a very challenging battle for both sides.

Leave a comment