I have always had a keen interest in the Norwegian Campaign in 1940. That interest started with the three naval battles in and near Narvik (yes three: the attack against the Norwegian panzerskipen on 9 April, the battle on the 10 April, and finally the one on 13 April). My interest then moved to the entire campaign focusing on the ground fighting. With my return to naval wargaming, the destroyer battle in the fjord on 10 April was begging to be fought.
I faced two challenges in developing a scenario for this battle. The first was scale. The battle was broken into two phases; the attack on Narvik harbor proper and the running battle in the fjord. Based on using the General Quarters 3 rules, I sketched out a scale drawing of Narvik harbor on a large sheet using the 10cm to a kilometer scale that was used in the rules. It was immediately clear that repeating the historical maneuvering in the harbor using 1:2400 scale ships wouldn’t be possible. Thinking this through, I decided that there wouldn’t be much wargaming value in trying to recreate the attack the first phase of the battle. The attack was pretty much skewed in favor of the British with the surprise, mist, snow, smoke, and excitement quickly making any better results unlikely. The lack of any complete understanding of the actual German situation meant that Warburton-Lee remained in the area longer than a wargamer would with their knowledge of the battle. So I dropped the idea of refighting the attack in the harbor and focused on the second phase.
This would allow the game to start with the British still off Narvik and deciding whether to make another run in the harbor. At this point the three German destroyers under Bey appeared steaming out of Herjansfjorden and initiating the running battle in the fjord. It would be five destroyers against five destroyers in an interesting situation. Again scale was a concern. Would the scale width of the fjord allow the ship models to maneuver? I decided to widen the Ofotfjord just a little to give a little space. This work quite well and I don’t feel it negatively impacted the battle.
The second challenge were the ships, well actually one ship. I prefer to use GHQ models, so got ready to place my order. The German destroyers were all listed as well as the British H-Class in their 1940 configuration. I had never noticed this before but all the newer 1934A destroyers had been in the harbor and therefore historically out of the fight, so the 1934 ships were the only models I needed (I did get all the 1934A ships, one never knows when they might be needed). However GHQ didn’t offer a British destroyer leader. I then discovered that no-one made a 1:2400 metal destroyer leader. I have always preferred metal ship models for their detail and I didn’t have access to a 3-D printer so what to do? I just couldn’t see refighting this battle without a reasonable Hardy to lead the British forces.
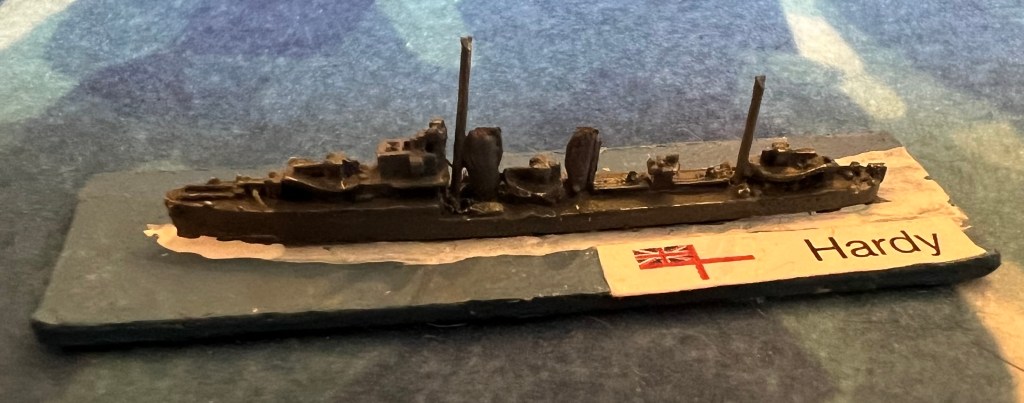
I decided that I could try to make a model of Hardy. I needed four H-Class and a leader. GHQ packaged three H-Class in a package, which meant I had six models to work with. I thought I could give this a try by cutting what I needed off one model and gluing it onto another. The leaders were a little bit bigger and the superstructures had some differences, so a perfect model wasn’t in the realm of the possible for me. I felt I that if could add the fifth gun mount and the aft mast, the result would be a very good wargaming model.
My first attempt trying to cut X mount off wasn’t great but workable. I felt my plan was coming together until the mount popped out of my tweezers and disappeared into the ether. I sat there frustrated and decided to think about this again and walked away from my work table. I had planned to use the donor model as a sinking ship, but more surgery would likely prevent that. The next day I decided to give it another go, this time cutting off B mount. Using what I had learn during the first attempt, the resulting mount and structure was much better than the previous one. Using my needle files and 800/1000 grain sandpaper, I was able to do a reasonable job in adding the fifth mount. Brass wire masts were added and then I had my HMS Hardy.
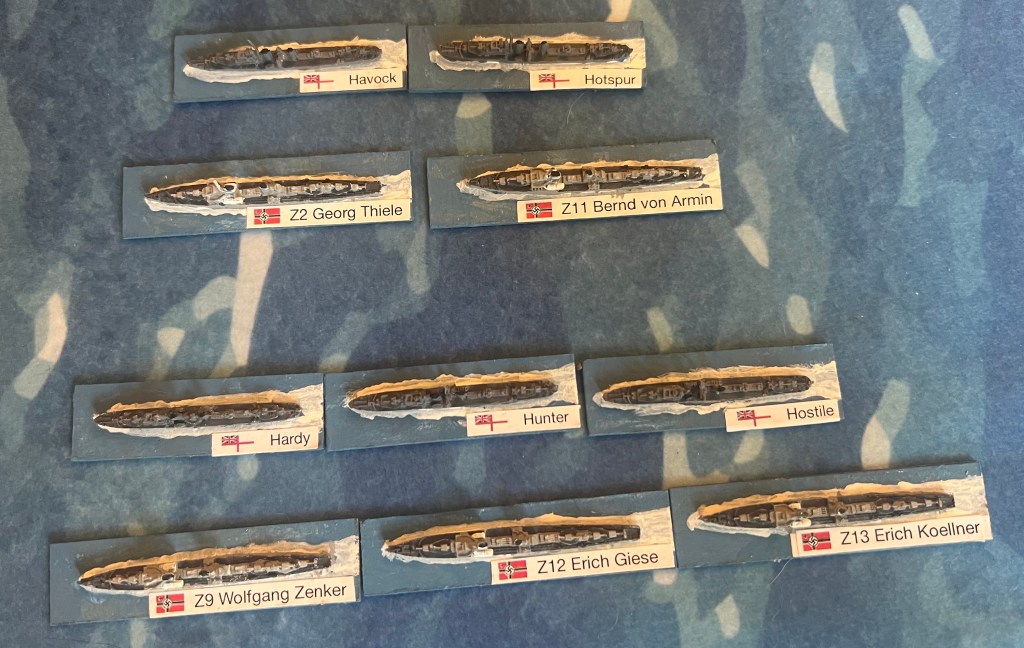
I had three players (one British, two German), all new to the rules while I hosted the game. Between guiding the players in the rules, unfamiliarity by the players in how to document the turns, the time limit, my forgetting to take phots, and the general noise of convention, the record keeping and number of photos for this AAR was a bit less than standard. I apologize if my memory didn’t remember everything correctly. The ships.
-HMS Hardy, Hunter, Hotspur Hostile, Havcock, and under Warburton-Lee. -Z9 Wolfgang Zenkner, Z12 Erich Giese, Z13 Erich Kollner under Bey and Z2 Georg Thiele and Z11 Bernd von Armin under Berger.
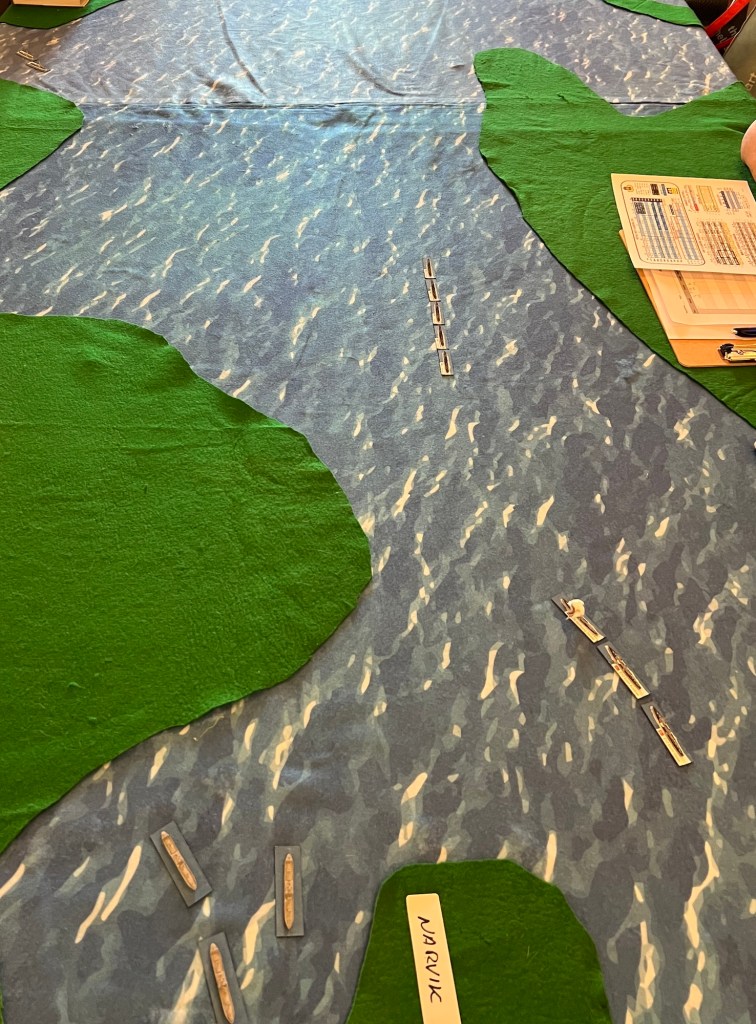
The Battlefield looking west. The table is 10′ long and 5′ wide. The terrain is an approximation as detail wasn’t necessary for the scenario.

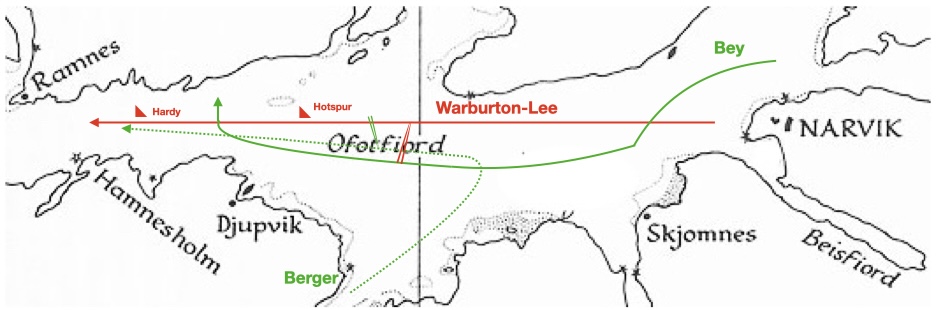
The map of the action.
The scenario started with the British ships off Narvik harbor and they were informed that something is coming towards them from the northeast. The British destroyers are at 20kts.
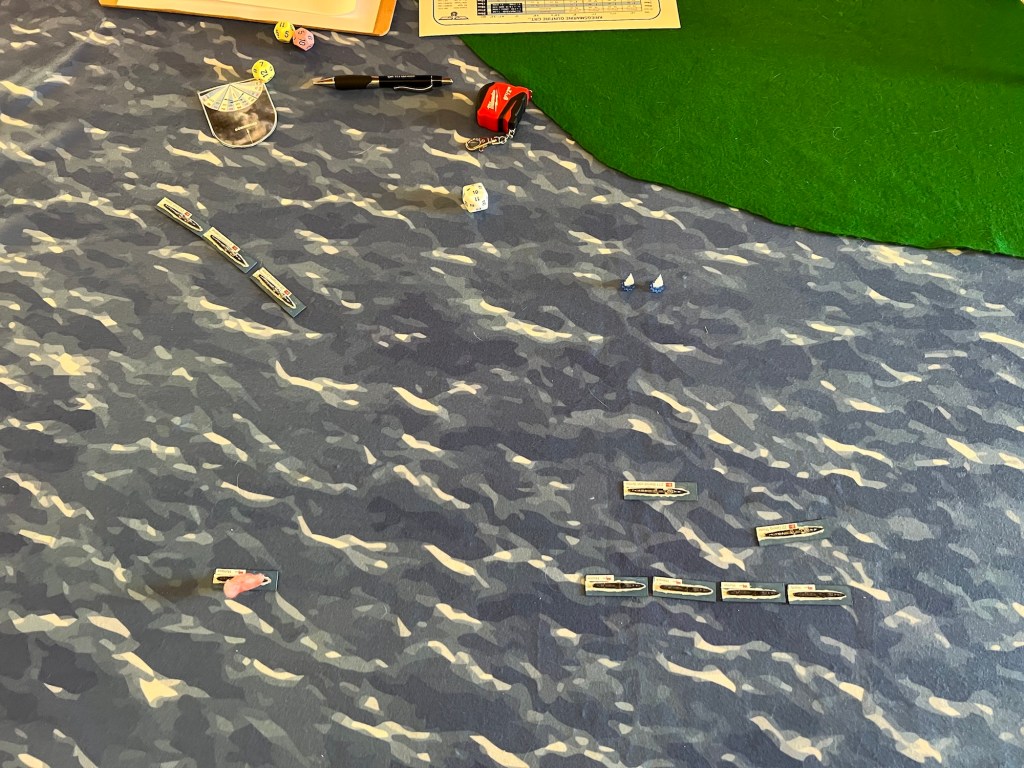
0554 T1. The British destroyers begin to steam west and increase speed to 25kts. The three German destroyers under Bey are also steaming west at 20kts. The British ships come out of the mist and the first exchange of fire is at ~4k front the stern mounts of Hostile and Hotspur and the forward mounts of Zenkner and Kollner. The Germans miss but Hotspur hits Zenkner three times. Two shells are duds but the third shell hits the hull.

0600 T2. The British continue due west while Bey turns his ship 2 points to port to begin opening all his firing arcs. Both sides continue to increase speed, with the British ships increasing the distance from their pursuers to ~4.5k as the latter turned. Again the two forces exchange fire and again the Germans get the worst of it with Zenkner losing I mount and two more hull hits. At the same time, the two German destroyers under Berger appear steaming out of Ballangen at 20kts. Berger is unsure whose ships were appearing infront of his so holds fire.
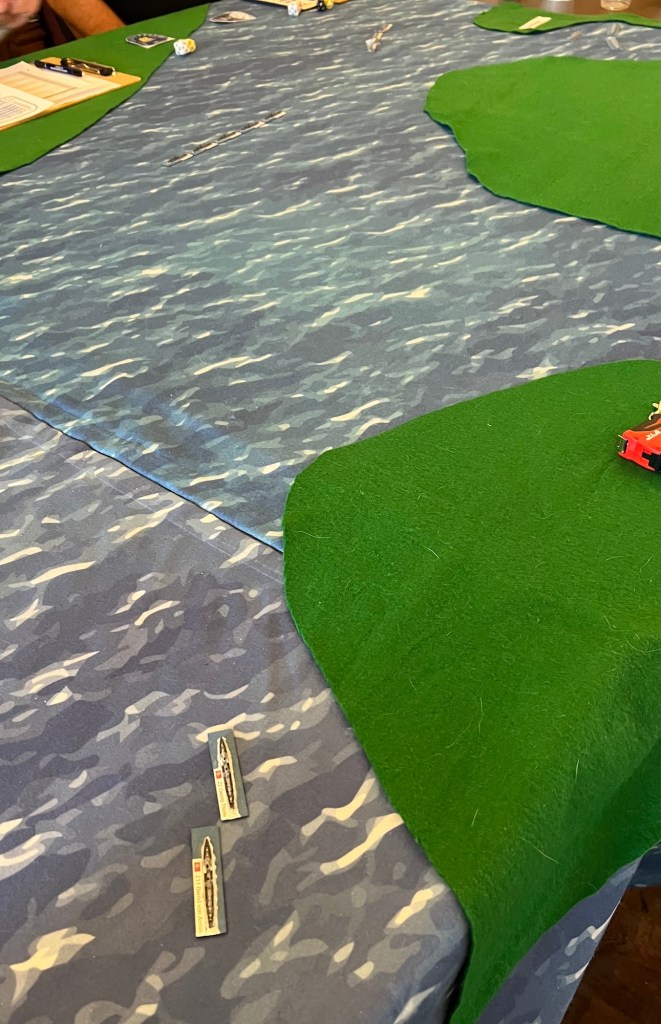
0606 T3. All three groups maintain their current course. This again allows the range to slowly open between the British and the Bey’s ships, but allow Bey to use all his guns. Zenkner is again hit and loses a torpedo mount, but Hotspur is hit three times, losing both rear gun mounts and a hit on the depth charge rack starting a fire. Hardy and Hunter open fire on Berger’s ships but miss. Berger doesn’t return fire.
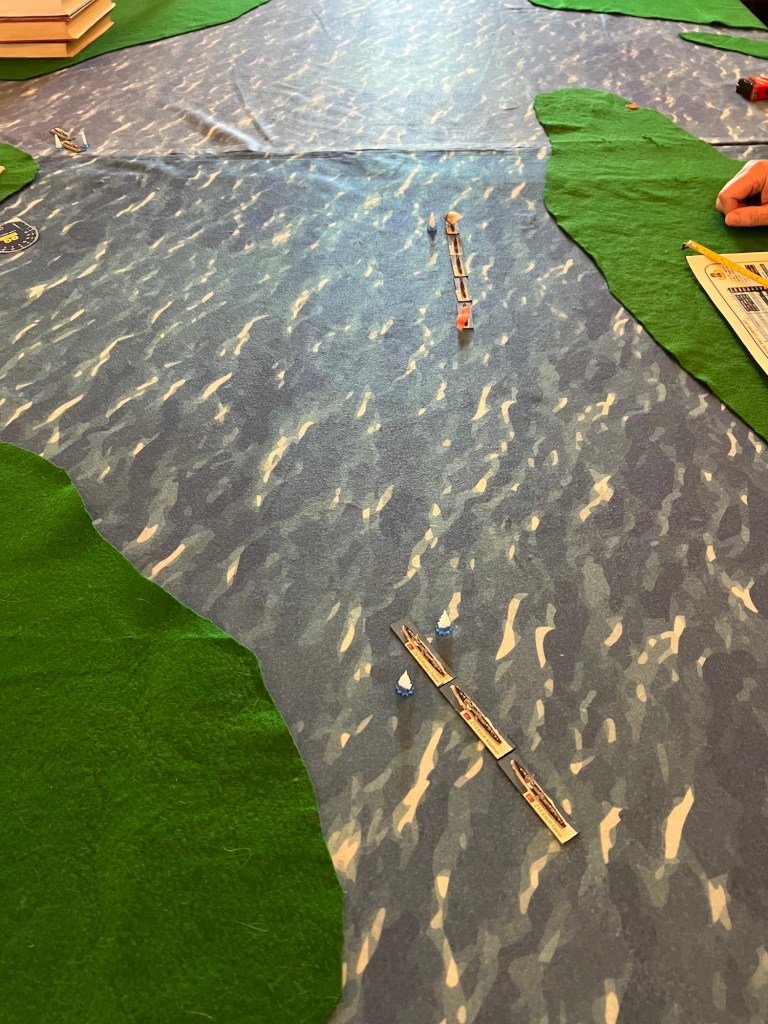

0612 T4. The British and Bey continue to hold course. Hardy and Hunter engage Berger while Havock, Hostile and Hotspur engage Bey. Range has opened to ~6.5k. Hotspur’s damage control put out the fire but takes another hull hit, while all the British destroyers miss. Berger turns to port to begin to set-up a torpedo launch. His delay in turning places his two destroyer abeam of the British instead of ahead of them and doesn’t have a good firing angle. In the exchange of gunfire, Hardy loses B mount but the British don’t score any hits.
0618 T5. The British continue due west. Bey turns to starboard so is paralleling the British off their port at a range of ~5.3k. Zenkner takes another hull hit but both Hotspur are Hostile are each hit twice. Hotspur received a hull hit and loses its forward torpedo mount. Hostile takes dud shell and a hull hit. Berger continues to angle towards the British, closing the range. The Germans miss, but Thiele loses a torpedo mount and is hit by a a dud.
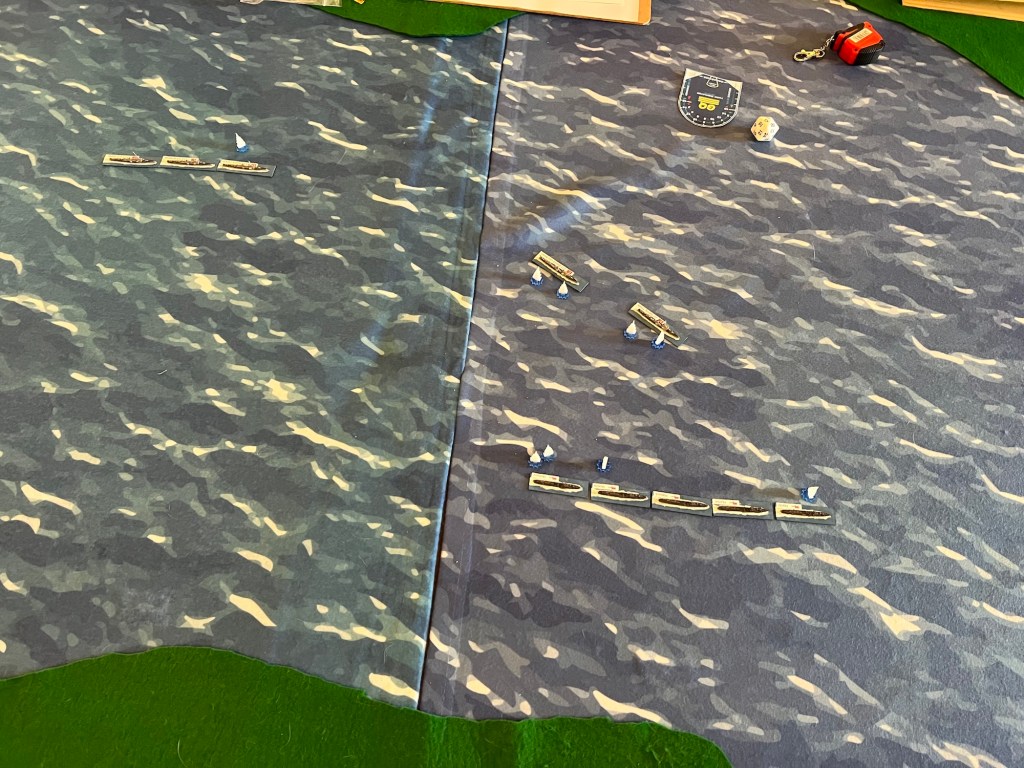
0624 T6. Berger turns to port and parallels the British formation at 2.5k. Both Bey and Warburton-Lee continue due west. Berger turns to port and parallels the British formation at 2.5k. Hostile and Hotspur only score one hit on Zenkner. Hostile takes three hits while Hotspur takes two, but many are duds or merely pass through the ships without any serious damage.
0630 T7. Hostile, Hotspur, Thiele, and Armin all launch torpedoes. All ships maintain course. The British torpedos pass behind the Germans destroyers but one German torpedo hits Hotspur. The torpedo impacts her engineering space and she takes three hull hits and loses speed while taking another 5” shell. Hostile takes a hull hit, while Thiele takes bulkhead and torpedo mount hits and loses its fire control. Hardy takes an engineering hit.

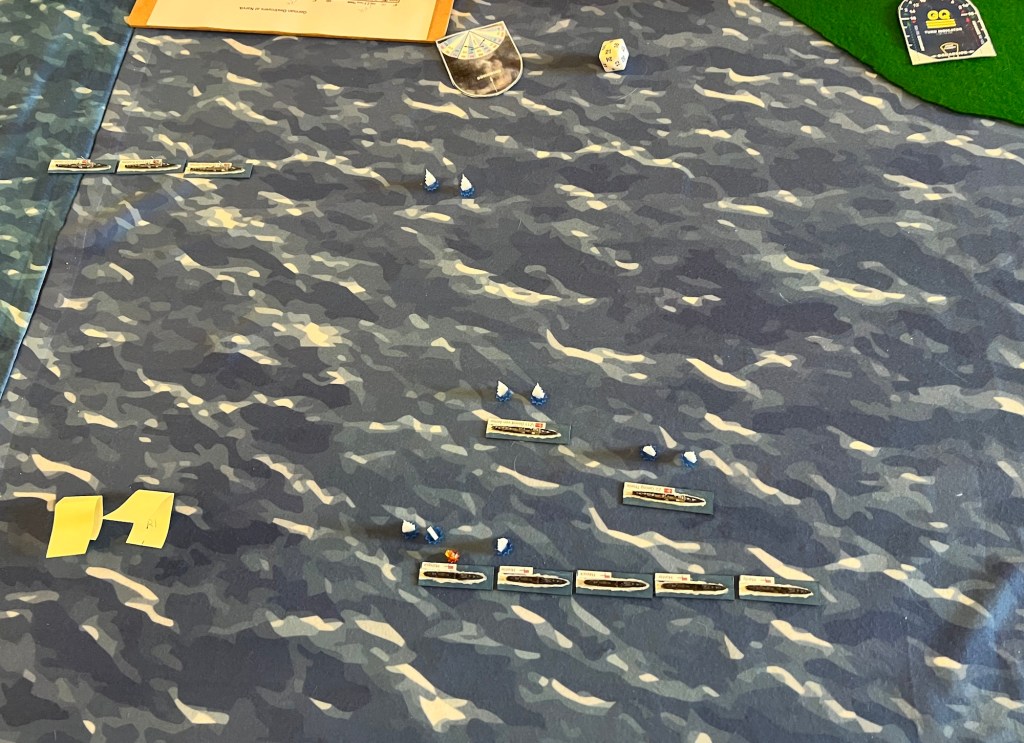
0636 T8. All ships maintain their course. Hardy repairs the engineering hit. Hotspurs drops a distance behind the British formation. Kollner shifts target to Hostile while Zenkner and Giese continue to hammer Hotspur. Both Thiele and Armin lose a gun mount and take several more hull hits. Hotspurs loses its last gun and the crew abandons ship.
0602 T9. Thiele had gained a little distance on Hardy and swung to starboard to try and cut off the British destroyers. She didn’t have enough of a lead and Thiele and Hardy collided. Both ships were locked together as the remaining three British destroyers steam past. Bey’s destroyers were low on fuel so decided not to further pursue. Hardy is left to its fate.
At this point we called the game. As we needed to begin packing up, I forgot to take any closing photos of the battle. The results were similar to the historical outcome, with the British losing two destroyers (Hardy and Hotspur) while two German destroyers were serious shot up (Thiele and Armin), one with moderate damage (Zenkner) and two pretty much untouched (Kollner and Giese).
Everyone said they enjoyed the game. Given all new players, I didn’t use smoke or weather as that would have complicated the game more than the convention setting would have allowed.
I had informed all the players before the start that there have been adjustments to the way damage is handled from the original rules, making it more difficult to sink ships. One player after the game thought those changes were too much and ships were too hard to sink. Given that the results were close to historical, I am not sure I agree. Looking at the actual hits and damage, two German destroyers would have been sunk and all the British destroyers had received enough damage that none would have escaped due to loss of speed. I am considering a few more tweaks buy happy with the outcome.


Leave a Reply