This was a refight of the historical Battle of Adana between the expanding Ottoman Empire and the Egyptian Mamluks. The rules used in the game were from Neil Thomas’ “Ancient and Medieval Wargaming“, while the scenario was from Peter Sides’ Renaissance Battles 1494-1700 vol 2. Michael provided the figures and the terrain.
Both armies were mainly cavalry based, with heavy shock cavalry supported by javelin/archer light cavalry. The infantry support was a mix of close ordered infantry supported by archers, javelin, and crossbow troops. The Janissaries were the key infantry for the Ottomans, equipped with firearms. and the Ottomans also had artillery. The Mamluks were slightly outnumbered by the Ottomans, which made creating the Mamluk plan a challenge. Both sides used the historical deployments.
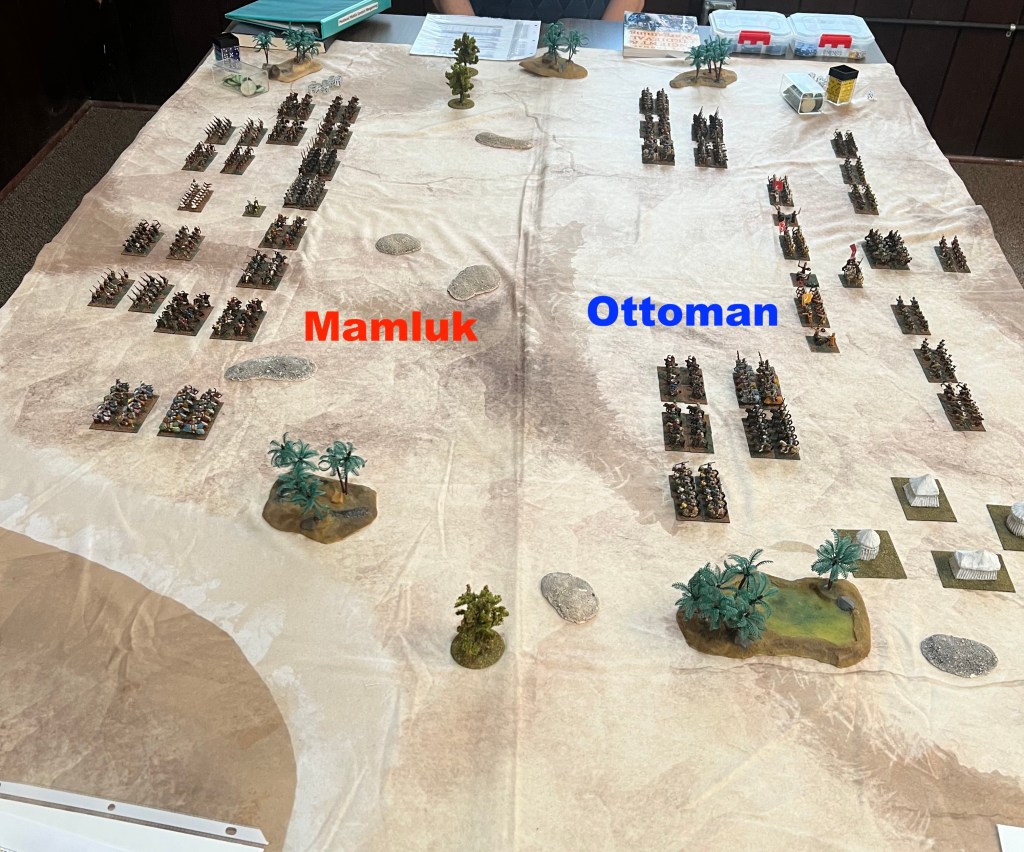
With the Ottoman artillery covering the center of the battlefield, the Ottoman commander opened the battle by launching a major cavalry attack on his right flank while pushing light cavalry on his left to harass the Mamluk right with archers and javelin armed cavalry (the rules use a IG/YG turn, with effects implemented immediately before the other side acts). The Ottoman commander held his forces in his center for now.
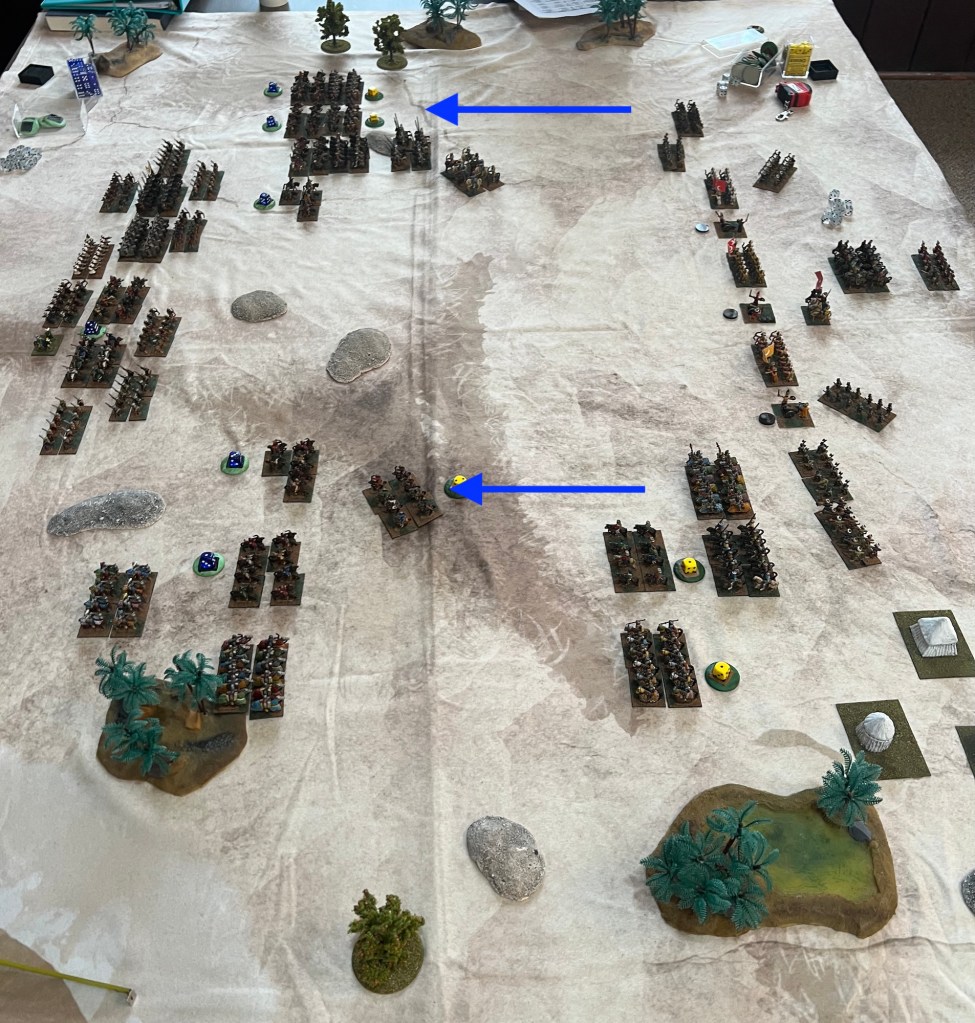
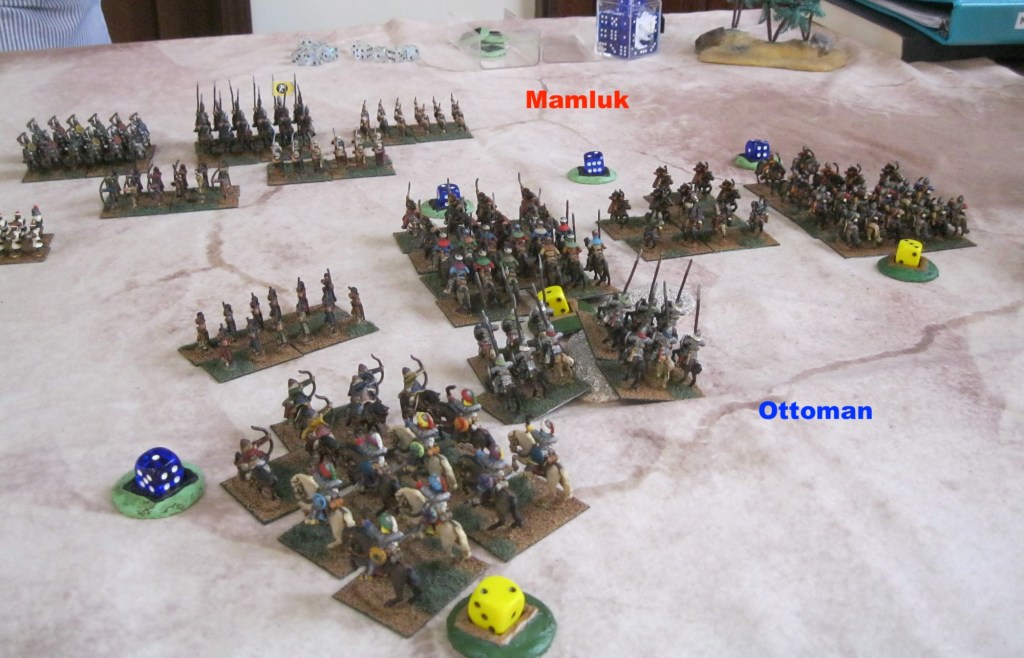
The Mamluk commander decided to attack both Ottoman flanks while holding his forces in the center as the reserve. Pushing his center infantry forward to screen the movement of his good cavalry from the artillery, he watched to see how the fight on the flanks unfolded. The Mamluk left was fully committed but holding for now, so he ordered the left flank infantry to advance to the right of his cavalry.
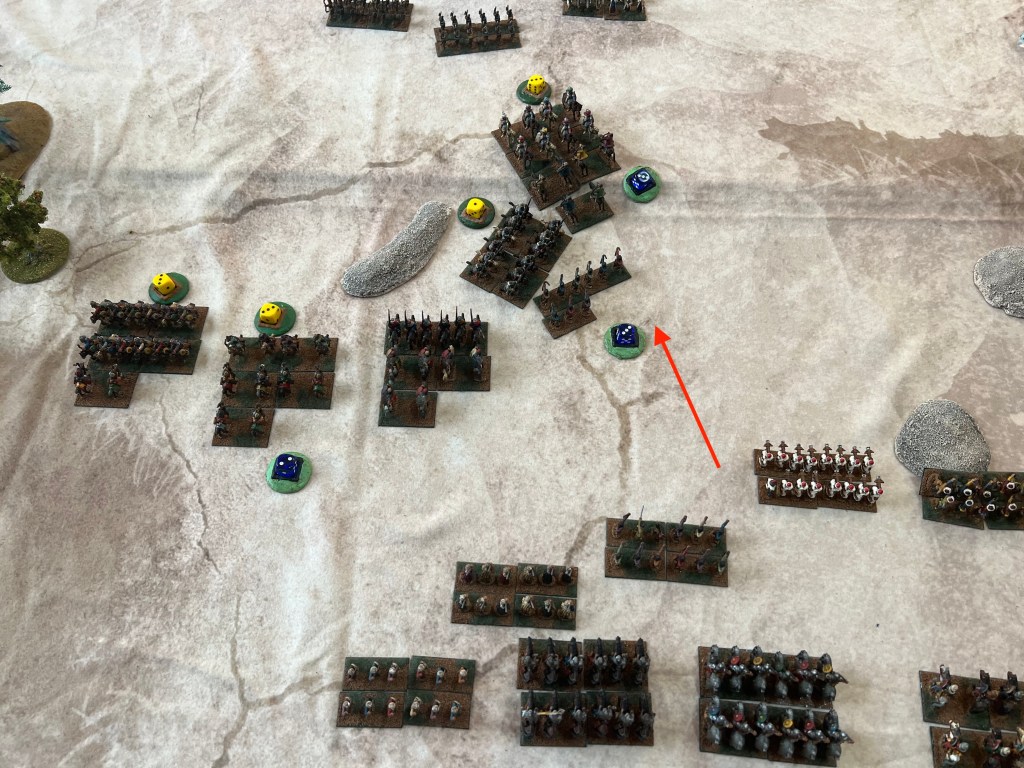
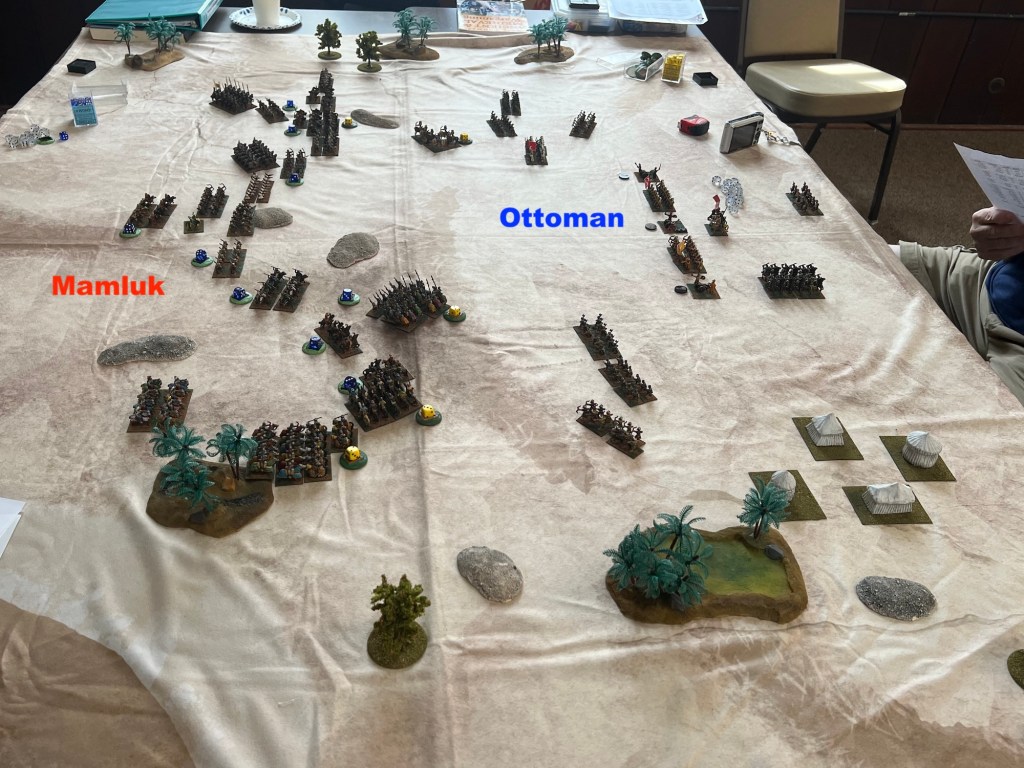
This move was to help cover the center against the artillery, but also to extend the frontage of his left flank forces to threaten the Ottoman cavalry on that flank. The Mamluks need a little more time to get the right flank units into position.
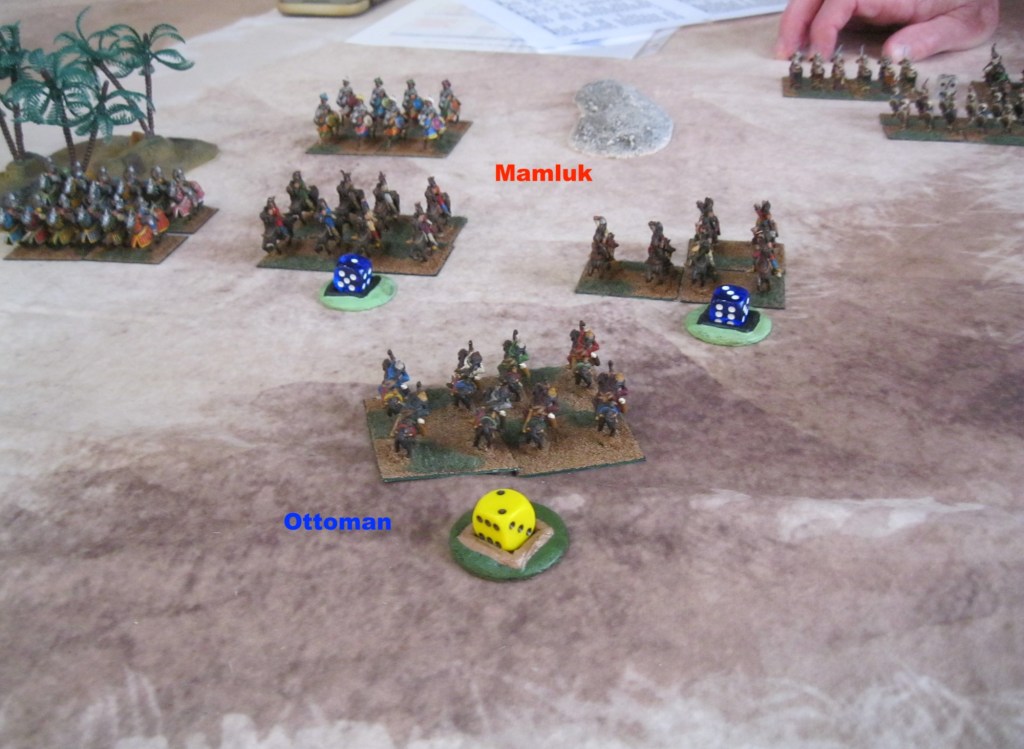
The fighting was getting bloody on the Ottoman right/Mamluk left as units were being worn down. The Ottomans started to move their right flank infantry forward, but these units moved up behind their cavalry. The Mamluk infantry (especially the Italian crossbowmen) had taken a position on the flank of the Mamluk cavalry and were getting into the action. This forced some of the Ottoman cavalry to face them, taking some pressure off the Mamluk cavalry.
On the Ottoman left/Mamluk right, the Mamluks were feeding in additional missile armed cavalry to support the Mamluk cavalry already in action. Getting these additional forces into action, combined with several Mamluk surviving morale crises slowly turned the battles on the flanks in the Mamluk’s favor. Both sides experienced turns of heavy losses, but for the Mamluks it was during the early turns of fighting which the units could still absorb. Several times the Ottoman loses were initially lighter, but then a turn of heavy losses late in the melee was enough to break units.
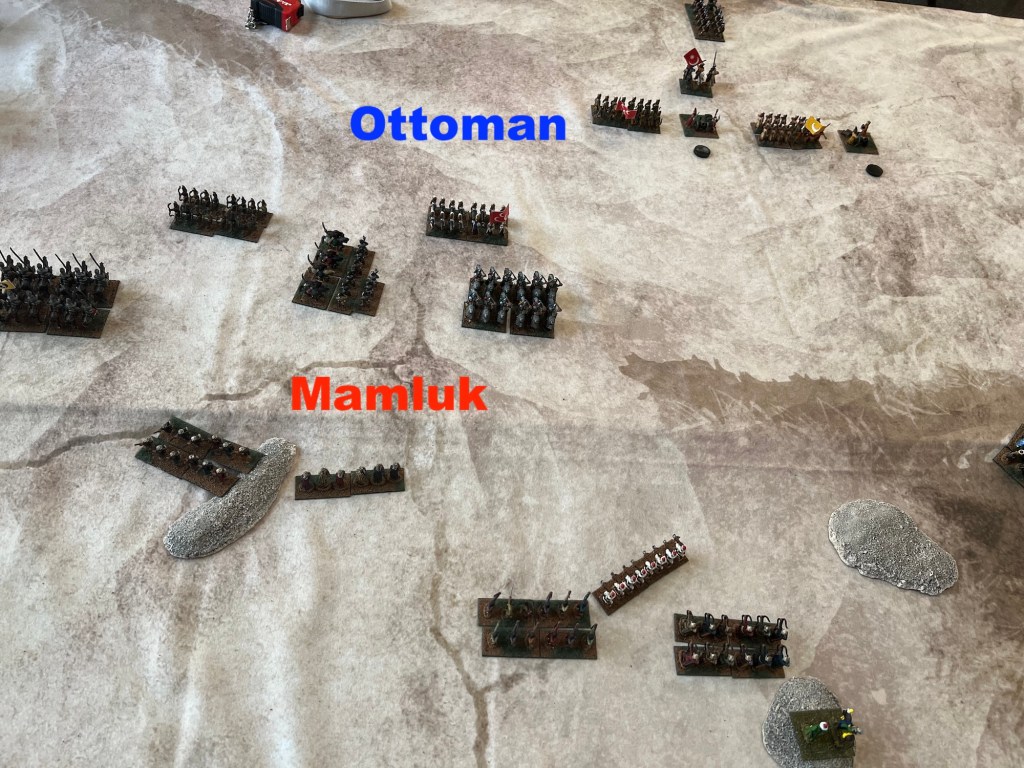
The battle did remain close, with the Ottomans committing their Janissaries to the right against the Mamluk left. As the worn Ottoman cavalry on the Ottoman right finally gave way against the Mamluk infantry and cavalry, the uncommitted Mamluk cavalry in the center was able to attack deep into that flank while the original Mamluk left flank cavalry could concentrate against the remaining attackers. Pressure was building against the Mamluk right, but it came too late as the Ottoman right was collapsing. Finally the Ottoman army past the number of broken units to trigger a retreat and the battle was over.
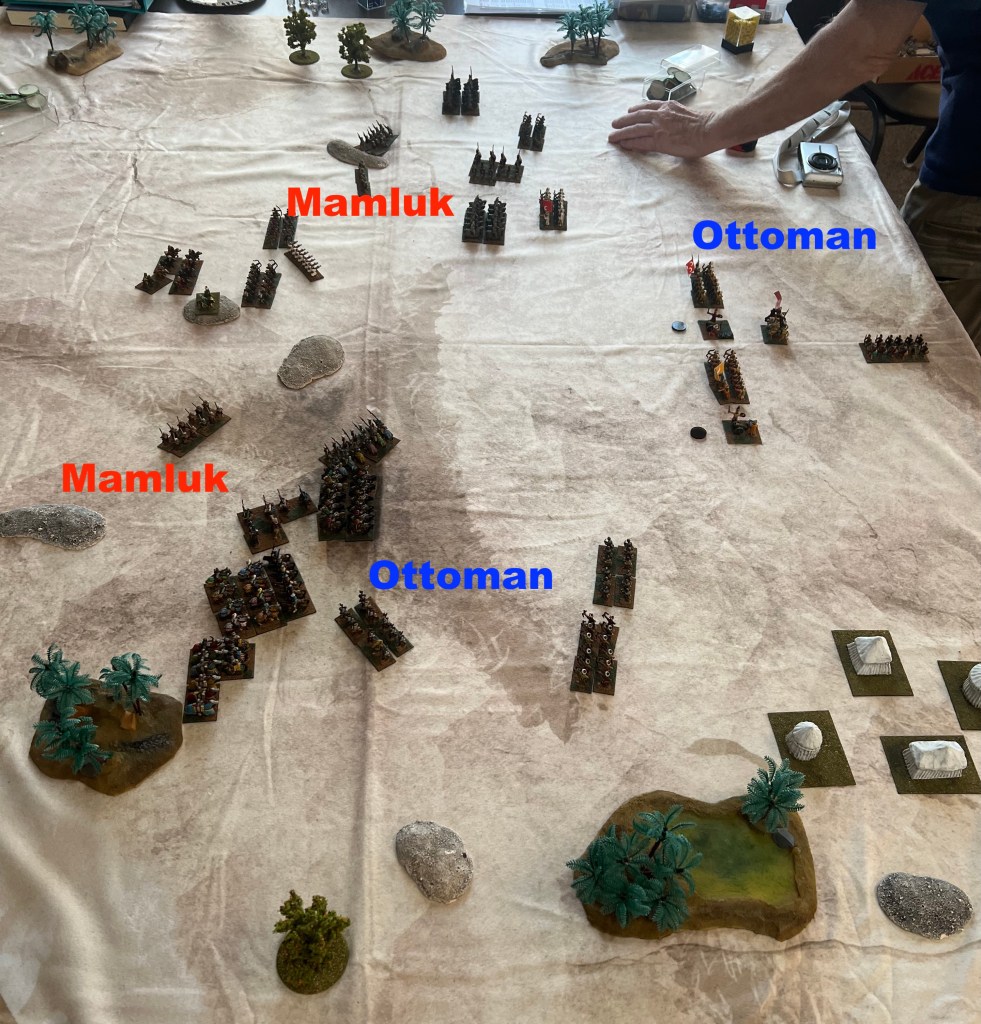
In looking back at the battle, I feel the Mamluk success was due to committing additional forces on each flank that extended the front rather than backing up the forces already engaged. The Ottomans didn’t begin to feed their reserves into the fight until a turn or two later and they move to back up the engage forces. With the uncertainty of the die rolls for command points, the Mamluks were able to get more units engaged during the height of the battle.
It was a fun game and the rules played well. They are very DBA-like but weren’t as ‘gamey’ with so many tricky rules. Units were multi-based so attrition was visible and the units looked good on the table. Units either moved up to fire or to rush into contact, no fancy footwork trying to get that correct angle. Horse archers and javelin men could actually move and fire/fire and move. With a few house rules previously agreed upon (e.g. charges into a flank had to start behind the front line of the defender), the play moved smoothly. I will need to see how the rules handled an army such as the Achaemenid Empire.


Leave a comment