This is the continuation of Force Z sorties North (https://themanchurianwar.com/2026/10/05/force-z-sorties-north/)
All eyes were scanning the sky as the Prince of Wales and its two escorting destroyers continued north on the late afternoon of 10 December. Radar reported no contacts as darkness enveloped the ships. The first part of the gamble had succeeded as the force had escaped detection. Now the question was whether they could avoid any surface contact and the find the enemy invasion force the following morning. Dawn was awaited with both hope and concern.
What was unknown was that Lady Luck had already forsaken the remains of Force Z. A Japanese submarine had spotted the ships on their northernly course before the darkness cloaked the group (successful intercept roll). The invasion covering force led by the battle cruiser Kongo and her sister ship the Haruna were now sailing towards the same waters to attempt to stop the British ships from reaching the convoy. Much would depend on whether the Japanese squadron can intercept the British before the British can discover the convoy.
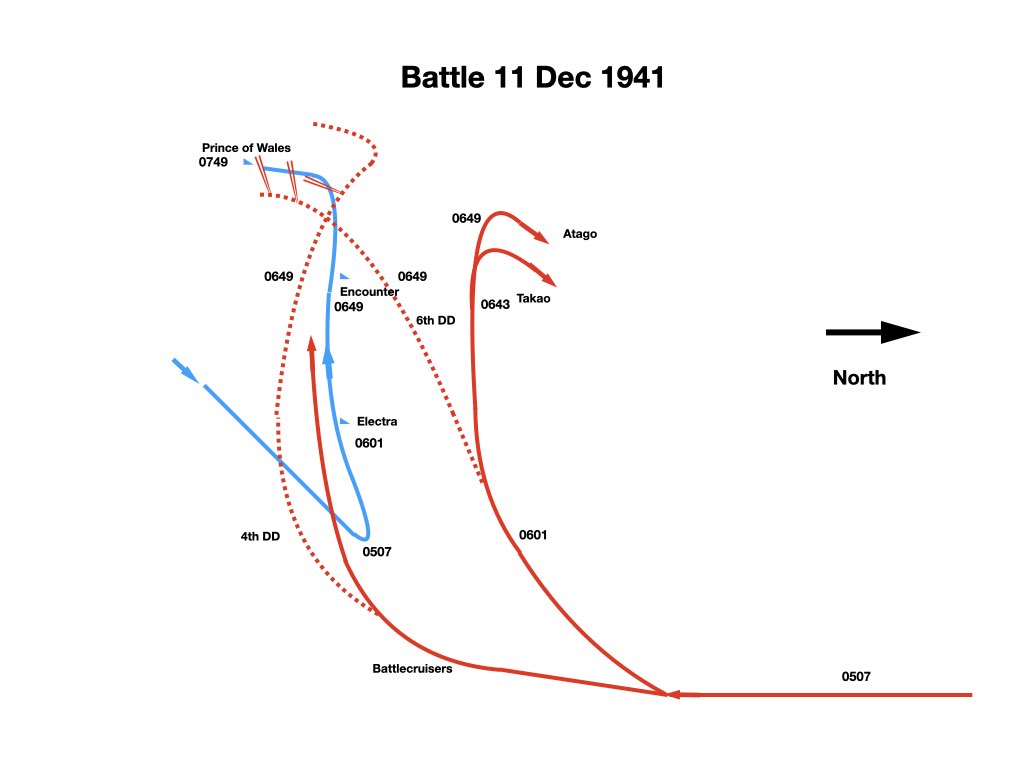
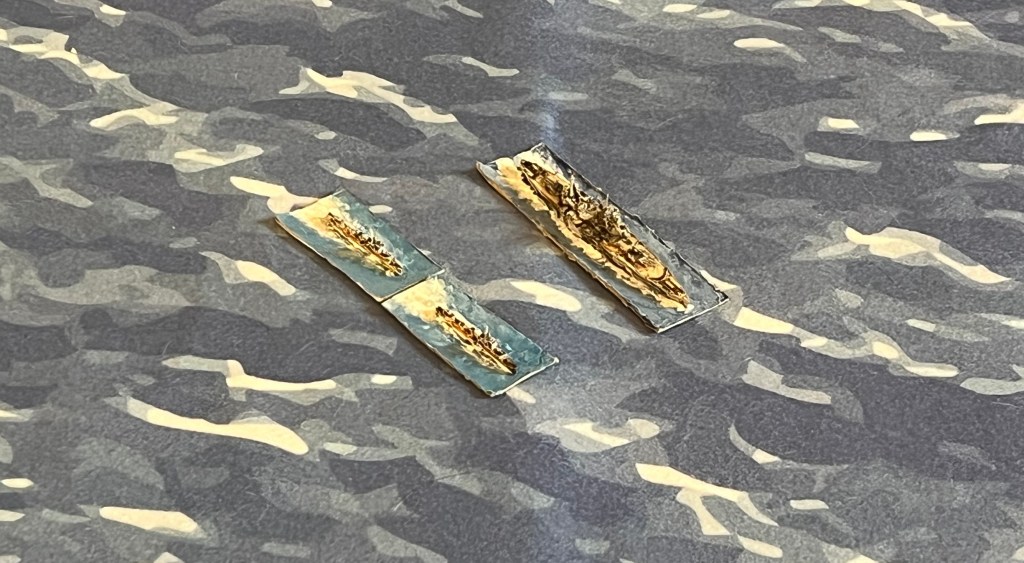
0507 T5. Dawn was only six minutes away when the radar on the PoW suddenly showed two small blips off the port bow at 21k. It quickly became clear that the targets are steaming due south at 25kts. Minutes later two larger ships are detected with more destroyers. The British realized that the gamble failed and that running was the best option. PoW signals a turn to 225º and increases speed to 25kts, then to PoW’s top speed of 28kts. So far there are no indications that the British have been spotted.
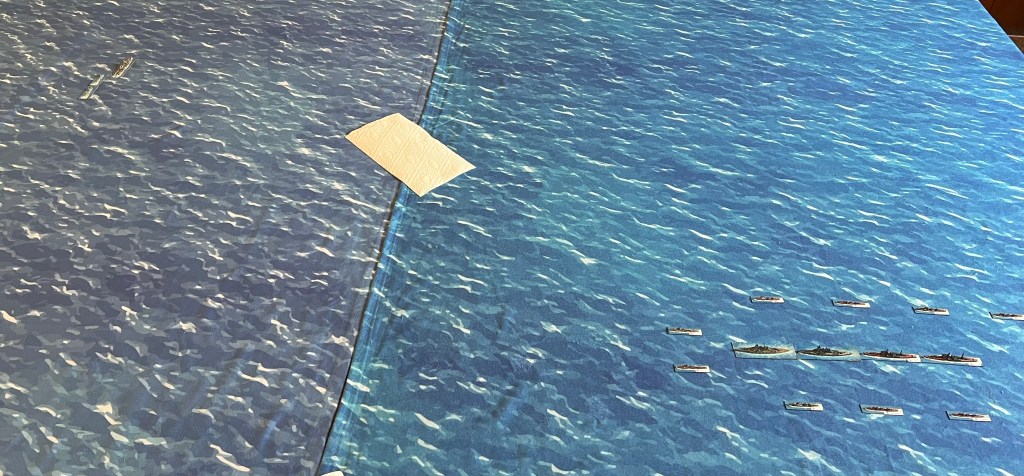
0513 T6. Dawn. Both sides now gain visible sight of each other. Winds are light from the southeast with a few rain squalls. Range is 19.4k with the Japanese squadron on a heading of 180º and the British on 230º. Electra and Encounter increase speed to 35kts and make smoke as they move to take station off PoW port side. Both sides open fire. Kongo fired and misses with A and B turrets while Haruna is masked by Kongo. PoW replies with X Turret and also misses. The Japanese increase speed to 30kts.
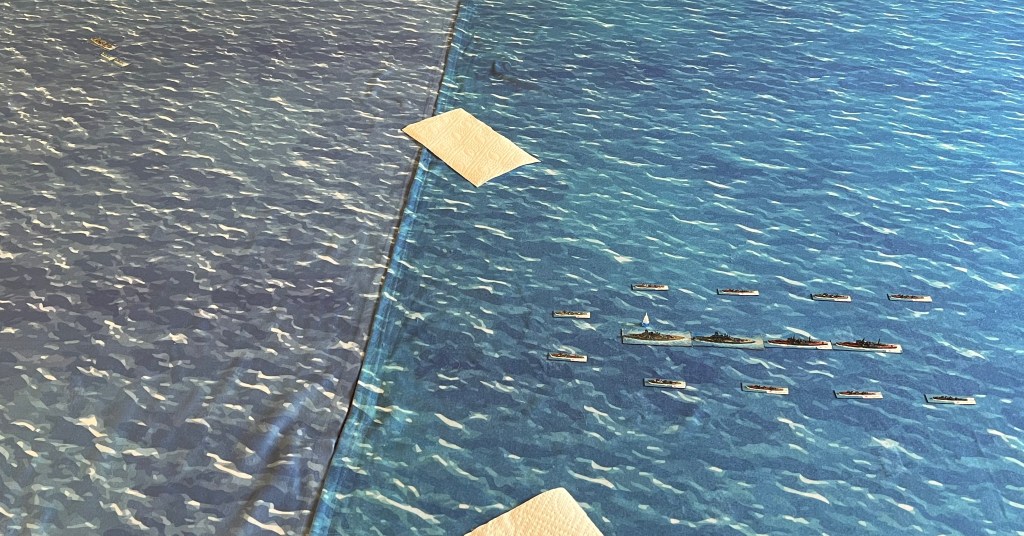
0519 T7. Firing stops as smoke obscures the British warships from the Japanese (we forgot that the ship laying smoke can always be targeted). The 6th (-) and 4th Destroyer Divisions form-up off the port side of the two battlecruisers. The 8th Destroyer Division forms off the port side of the 1st Division of the 4th Cruiser Squadron (Takao and Atago). The battlecruisers turn two points to starboard attempting to both close the range while keeping their A-Arcs open. The cruisers turn 4 points top starboard to begin to flank the British ships while increasing speed to 34kts. The battlecruisers and cruisers begin to prep and then launch float planes 18n minutes later.
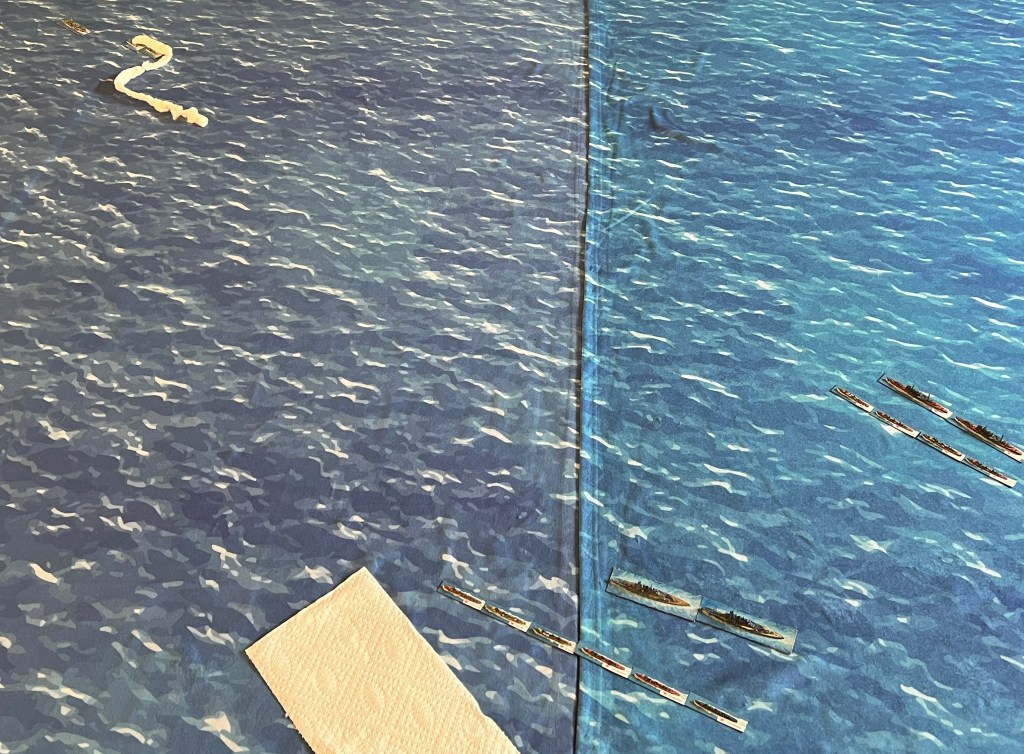
0537 T10. PoW sights Japanese float planes 4,000 meters to port and starboard, and alters course to 200º. Electra and Encounter continue making smoke. With four float planes into air, the Japanese resume firing. The two planes from the battle cruisers direct fire against PoW while the cruiser’s planes direct fire at the destroyers. Firing only the forward guns at a range 17,900 meters and 18,700 meters, the Japanese initial salvos miss PoW. The Japanese cruisers also miss the the two destroyers.
0543 T11. PoW turns to starboard to course 235, speed 28 knots. Electra and Encounter continue to make smoke aft attempting to screen PoW from the Japanese battlecruisers. HMS Prince of Wales Anti-aircraft fire damages Kongo’s float plane. Range just over 18,000 meters to the battleships and just over 17,000 meters to the cruisers. PoW is hit by Japanese 14” amidships destroying the float plane catapult (the plane had been flown off yesterday) but doesn’t penetrate the armor. Electra is hit by two 8” rounds, one hitting the superstructure and the other passes through without detonating. Encounter is also hit by 8” rounds that destroy her torpedo tubes and striking the depth charges on the stern and starting a fire. PoW fires at Takao and hits with a 14” shell, destroying Y Turret, a secondary and a hull hit. With only one director, the 5.25” is forced to use local control and misses the Atago.
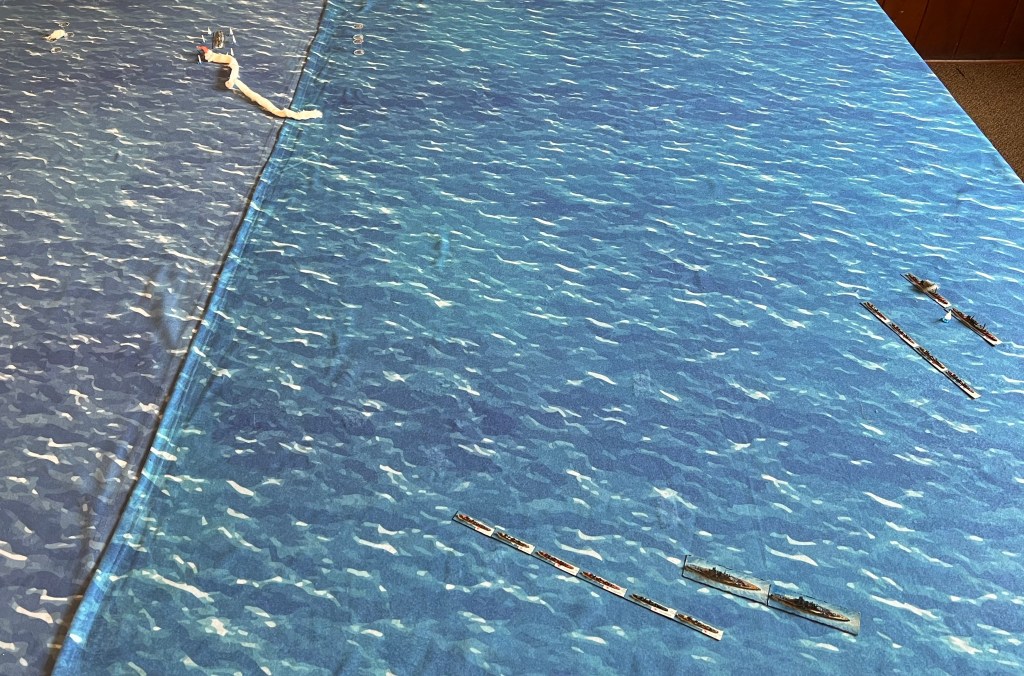
0549 T12. PoW continues course and speed. Electra and Encounter trail making smoke, with Encounter extinguishing the fire on the fantail. Range 19,500 meters to Japanese battleships. PoW hit by non-penetrating 14” round. Range 16,000 to Japanese cruisers. Japanese 8” hit Electra destroying Y gun mount and another dud. Encounter is also hit by 8” but both are duds. PoW again hits Takao with a 14” shell which passes through an unarmored part of the ship and takes out a torpedo mount, but misses Atago with its secondaries. PoW AA shoots down the Haruna’s floatplane, rendering both battlecruisers unable to shoot through the smoke.
0555 T13. PoW comes to starboard to course 245, speed 28 knots and begins to make funnel smoke to conceal the DDs. Electra and Encounter turn to port and starboard making funnel smoke before aligning in trail of the BB. The battlecruisers have another set of floatplanes ready, but would need to turn to port to launch. This would open the range, something which the Japanese admiral doesn’t desire to do. As his cruisers are concentrating on the enemy destroyers, he will wait until the destroyers are no longer able to screen the battleship. Wishing to end the battle as quickly as possible, he orders the battlecruisers close their A-Arcs and head directly at the enemy to reduce the range as quickly as possible. The destroyer divisions are ordered to increase speed to 35kts and move up on both sides of the fleeing enemy; the six destroyers of the 6th (-) and 4th Destroyer Divisions moving up the enemy’s port side, the four destroyers of the 8th Destroyer Division up towards the enemy’s starboard side. Range from PoW to the cruisers is 16,000 meters and 16,800 meters respectively. Range from destroyers to the cruisers is 15,300, and 15,700. All the British fire misses. Electra receives 8” hit resulting in a hit to the already destroyed torpedo tubes and a bulkhead hit and begins to flood.
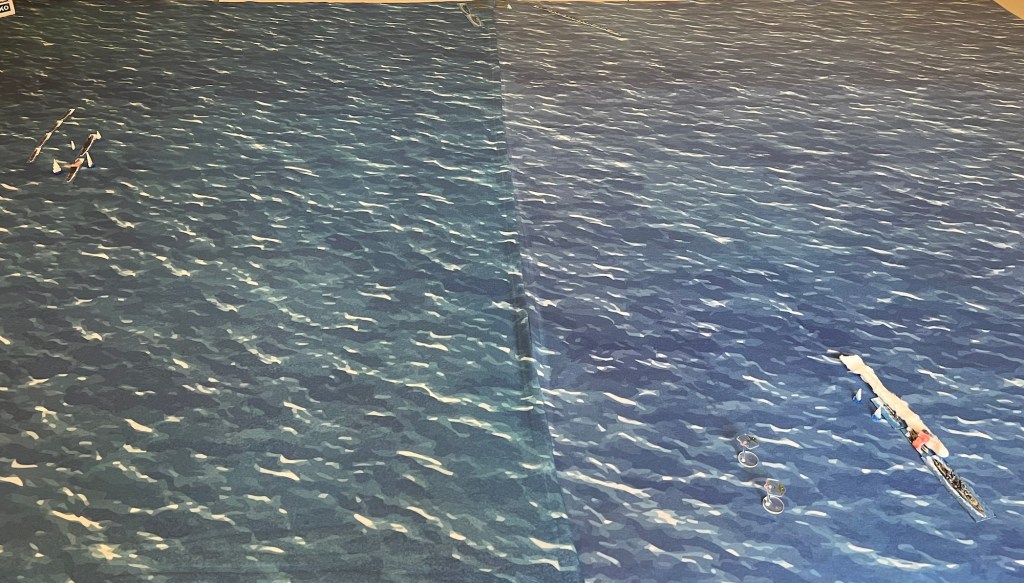
0601 T14. PoW continues on course and speed making funnel smoke. Destroyers make funnel smoke as their chemical smoke has been exhausted. Electra repairs her damaged bulkhead and contains the flooding. PoW hits Takao at a range 15,800 meters and takeouts out C Turret. In return, Takao hits Electra with an 8” round that enters the aft magazine and detonates. Electra shatters and the destroyer slows to a halt, broken in half and sinks stern first.
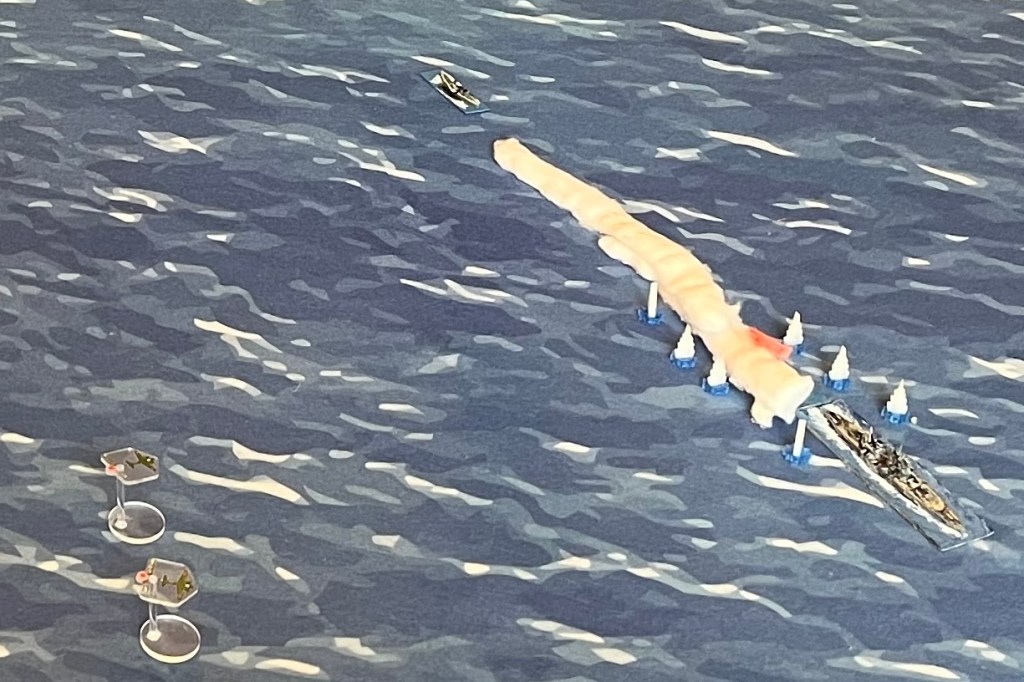
0607 T15. PoW continues on course and speed making funnel smoke to conceal Encounter as it avoids the wreckage of Electra. Encounter continues to make funnel smoke to conceal PoW from Japanese BBs. PoW hits Takao at range of 15,000 meters. Two columns of Japanese destroyers are closing to just over 12,000 meters and begin firing at Encounter, allowing the cruisers to shift to the PoW. Atago hits PoW, but the round fails to penetrate.
0613 T16. PoW continues on course and speed followed by Encounter both making funnel smoke. PoW has been firing 14” at Takao and its starboard 5.25” in local control at Atago. With the Japanese destroyers closing on the port side, PoW begins firing the port 5.25” at lead Japanese DD. Encounter fires 4.7” at second Japanese DD in Windward column. Both ships fire with no visible hits. PoW hit by non-penetrating 8”. Encounter hit by 5” in the depth charge racks causing a fire.
0619 T17. PoW and Encounter maintain their course and speed. Encounter fire continues to burn, while both ships continue to make funnel smoke. Encounter hit by 5” in the depth charges again and in the fire control director. In return, Encounter rapid fires and hits the Inazuma with 4.7” round which damages a bulkhead. PoW hits Takao with a 14” shell taking out X Turret, hits Atago with 5.25” in local control, and hits the Ikazuchi with 5.25” in local control.
0625 T18. PoW and Encounter continue course and speed. and continue to make funnel smoke. Fire contained on fantail of Encounter. Japanese DD’s have closed to around ~10,000 meters, but Inazuma turns to port as she slows down. Immediate damage controls fails to stop the flooding. The Japanese CAs close to 14,400 and 15,100 respectively. The Japanese battlecruisers continue to follow and watch as the range inches shorter. PoW hits Takao again 14” causing hull damage and losing a secondary. Takao is also hit by a 5.25” but there is no serious damage. Encounter rapid fires at Inazuma and misses. PoW hit by 8” in hanger area bug that area is already brunt out. All nine of the Japanese destroyers finally begin to bracket Encounter and she is hit six times: rudder jams to port, bulkhead is hit and flooding begins, hull damage drops speed to 11 knots, with two duds lodged in the superstructure.
0631 T19. PoW continues to flee at 28 knots, Encounter is left to her fate, her rudder jammed to port, speed 11 knots. Encounter rapid fires and misses. PoW hits Atago with 5.25” taking out X Turret. PoW hit by 8” that does not penetrate. Encounter continues to flood and is hit twice again resulting in a lost gun mount and a dud.
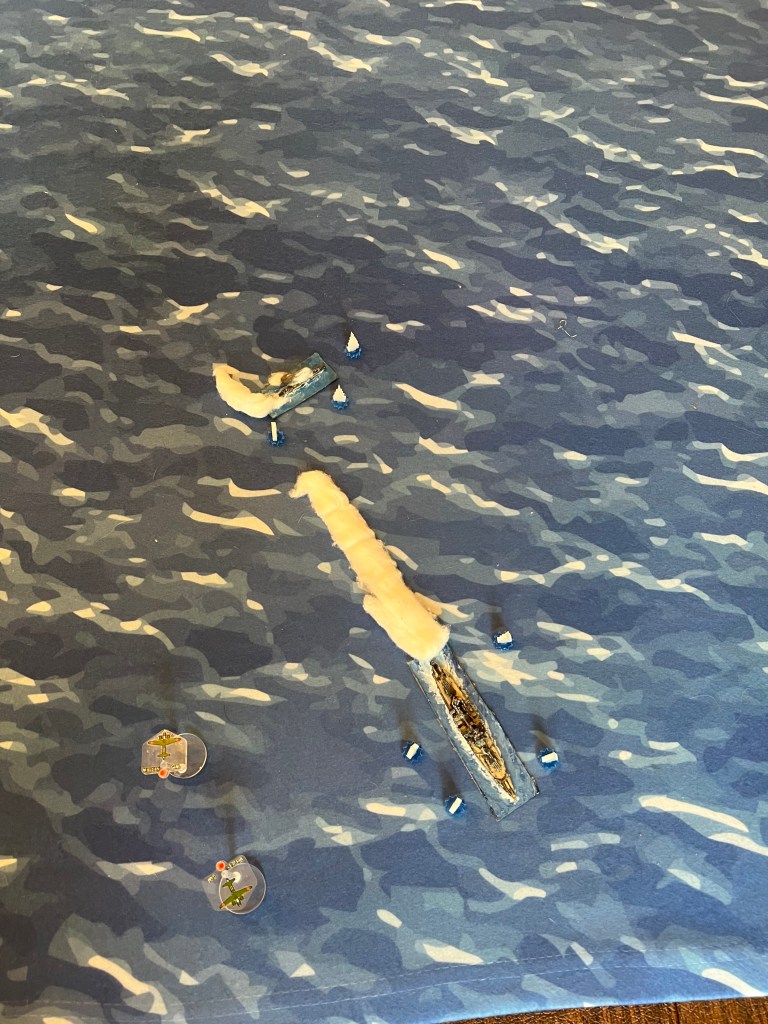
0637 T20. PoW continues at 28 knots. Encounter fixes her rudder but continues to flood. Encounter turns to starboard in an attempt to follow PoW and cover her with chemical smoke. PoW hits nothing this turn at ranges of 13,600 to Takao and 14,200 to Atago. Japanese DDs are within 9,000 years of HMS Encounter. HMS Encounter rapid fires misses with her remaining 4.7”. PoW struck by non-penetrating 8”. Encounter is struck to two 5” both duds.
0643 T21. PoW continues at 28 knots. Encounter repairs bulkhead and flooding but speed has now dropped to five knots. PoW hits Takao at range 13,800 meters with 14”. Encounter hit twice destroying a gun mount the other hit being a dud.
0649 T22. PoW turns to starboard to course 260, 28 knots to try and keep the Japanese battlecruisers in their bow only arc. Encounter continues course 235, 5 knots, making chemical smoke. Takao turns rapidly to starboard to breakaway from the action. PoW shifts fire to Atago and hits with a 14” round . PoW is hit three times resulting in loss of forward starboard side secondary gun mount and two non-penetrating hits. Encounter is still sandwiched between the two lines of Japanese destroyers and is hit 18 times. Encounter loses remaining guns mounts, has two fires and the recently shored up bulkhead gives way again. Massive hull damage results in her foundering. Of note, HMS Encounter was struck by a total of 12 rounds ghat either over penetrated or are duds during the course of the engagement. She lost four gun mounts, her director, her torpedo tubes were hit six times, her depth charges six times, her rudder, and three bulkhead hits. Tough little ship.
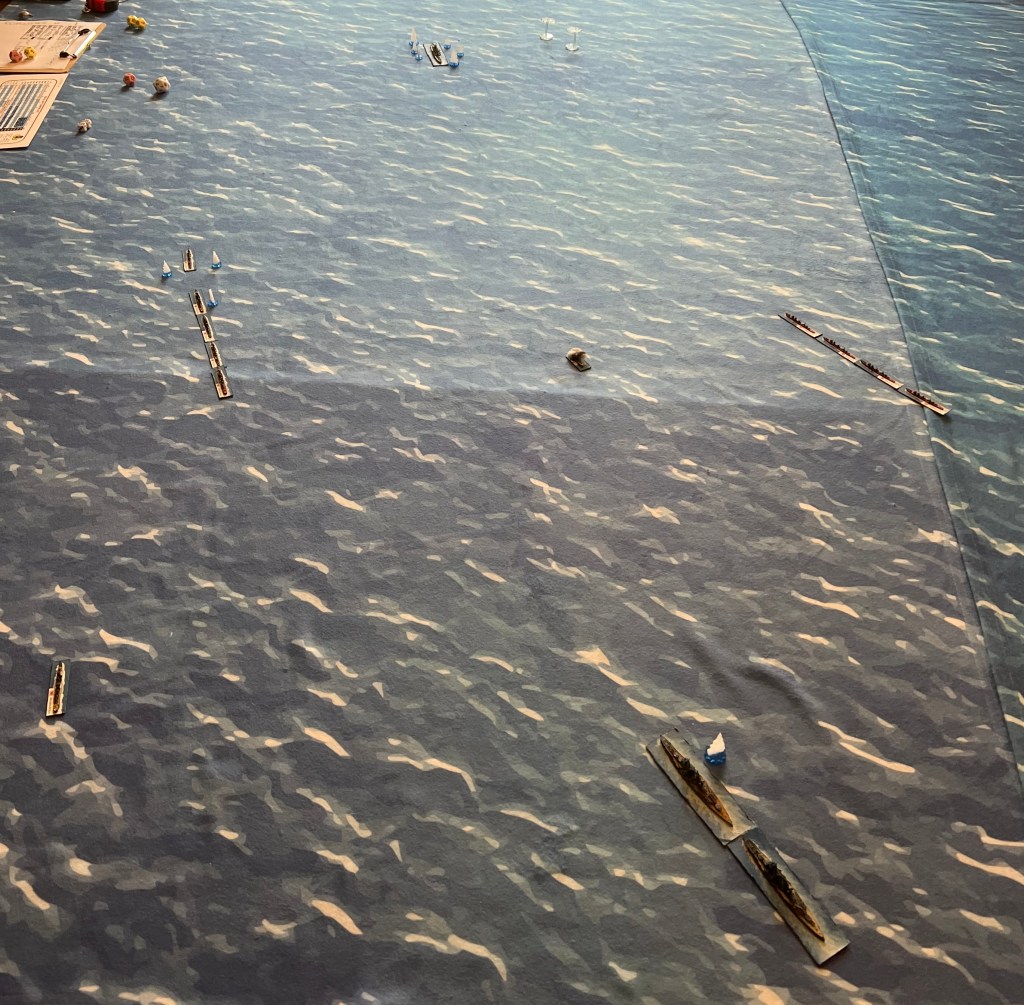
0655 T23. HMS Prince of Wales is alone. PoW continues on course and speed 28 knots. PoW Range to Atago is 13,200, range to leeward DDs 8,900, range to windward DDs 6,400. PoW fires 14” at Atago and misses, fires aft starboard 5.25” under local control at lead leeward DD and misses, fires aft port 5.25” under local control at lead windward DD and misses. All the Japanese fires miss.
0701 T24 PoW continues course and speed. PoW range to Atago is 12,900, range to Battlecruisers is 14,200/15,100, Range to windward DD 5,900, range to leeward DD 8,100. PoW fires 14” at Atago and misses. Fires similarly to above at DDs and misses. PoW hit by non-penetrating 8”.
0707 T25. PoW continues course and speed. The Japanese destroyers maneuver to stay in the battleship’s stern arc while steadily closing the range. PoW range to Atago is 15,300, range to Battlecruisers is 14,200/14,900, range to DDs 5,000/7000. PoW hits Atago with 14” and take out a turret. PoW hit by non-penetrating 14”.
0713 T26. PoW continues course and speed. PoW range to Atago is 19,000, range to Battlecruisers is 14,100/14,800. PoW misses everything. PoW hit by 14” dud from Kongo as Haruna is masked by the flagship.
0719 T27 The Japanese 4th Destroyer Division begins to pass behind the fleeing battleship as the Atago turns to starboard to also breakout the action. PoW turns to port to course 245, speed 28 knots to attempt to comb the track of suspected inbound torpedoes. PoW ranges to DDs 5,200/5,400, range to BBs 13,100/13,400. PoW hits DD with 5.25” under local control. Misses BB with 14” and another DD with 5.25”. PoW is missed by all the Japanese fire.
0725 T28 PoW continues on course 245, speed 28 knots, lookout keeping an eye out for inbound torpedo tracks. The five Japanese destroyers all launch torpedoes from their forward mounts while keeping their aft mounts in reserve. Given that PoW is moving away, it will be 12 to 18 minutes before the torpedoes can reach their target. PoW range to DDs 7,300/5,500, range to BBs 12,400/13,100. PoW hits two DDs with 5.25” under local control and lead battlecruiser with a 14” shell. Kongo loses a secondary, while Ikazuchi takes a bridge hit and Arashi loses its forward torpedo mount. All the Japanese fires miss PoW.
Disclaimer: The cruiser’s floatplanes had run out of film in their cameras. The following pictures were created at the Tokyo-Takarazuka Theatre Company (later renamed the Toho Studios where the Godzilla movies would be made) for the wartime Japanese film 西洋帝国主義の終焉 (The End of Western Imperialism) covering this battle. Used with permission. (we got very involved in the battle and I forgot to take pictures. I reset the last part of the battle using the understudy (my model of the Prince of Wales) in the pictures).
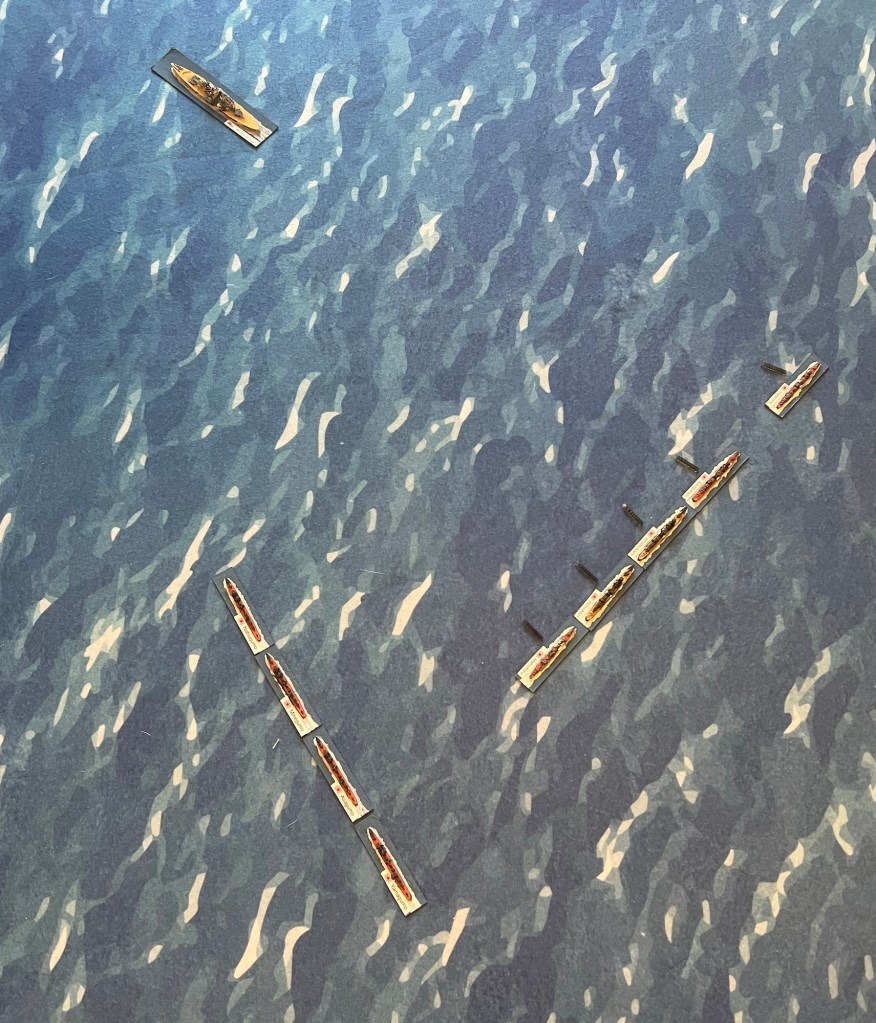
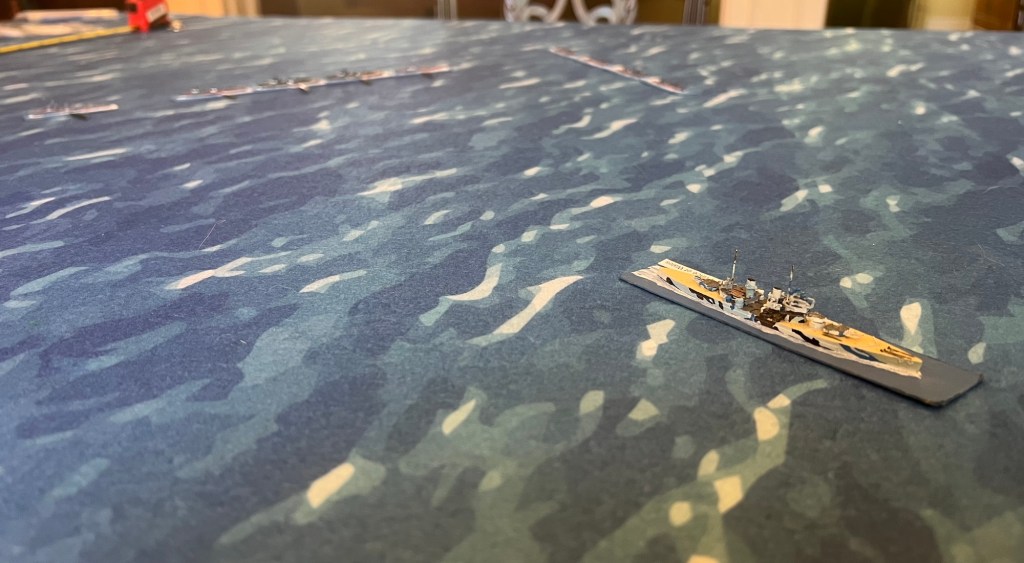
0731 T29 PoW continues on course and speed, lookouts admonished to keep a sharp eye aft. As the 4th Destroyer Division continues past the stern of the battleship, the 6th Destroyer Division moves up off the aft port quarter of the British battleship. Oshio launches all eight of its torpedoes while Arashio launches four mainly to box-in the PoW. PoW range to DDs 7,600/5,100, range to BBs 12,200/12,900. PoW hits Kongo with a 14” shell on the catapult/hanger area and Oshio with 5.25” taking out a gun turret and a torpedo mount. PoW is missed.
0737 T30. Prince of Wales continues on course and speed. Lookouts report torpedoes but not in time to permit dedicated evasive maneuvering (failed die roll). PoW range to DDs 6,900/4,900, range to battlecruisers is 12,000, 12,700. PoW struck by two torpedoes, one aft from the 4th Destroyer Division and one port side forward from the 6th Destroyer Division. The two hits result in massive flooding, an engineering casualty, and shock damage to A turret. PoW hits Kongo with 14” damaging a tertiary and a 5.25” hit on Arashio causing some flooding.
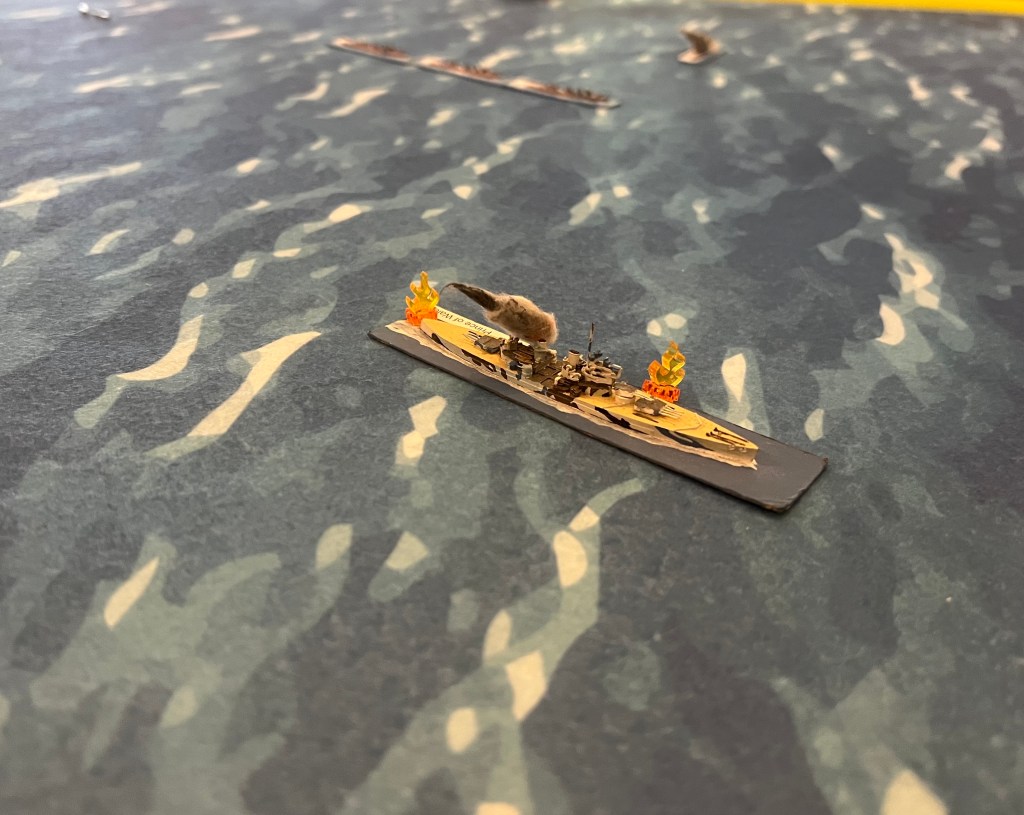
0743 T31. The Prince of Wales’ speed is down to 4 knots. Arashio turns to port as she executes damage control. The remaining three destroyers of the 6th Division pull along side the crippled battleship. PoW hits Kongo 3 times with 14”, damaging A Turret, another secondary, and a dud. Arashio is hit with a 5.25” under local control. PoW hit 4 times by 14” destroying Y turret, forward port side secondary mount, the float plane launcher (again), and a dud.
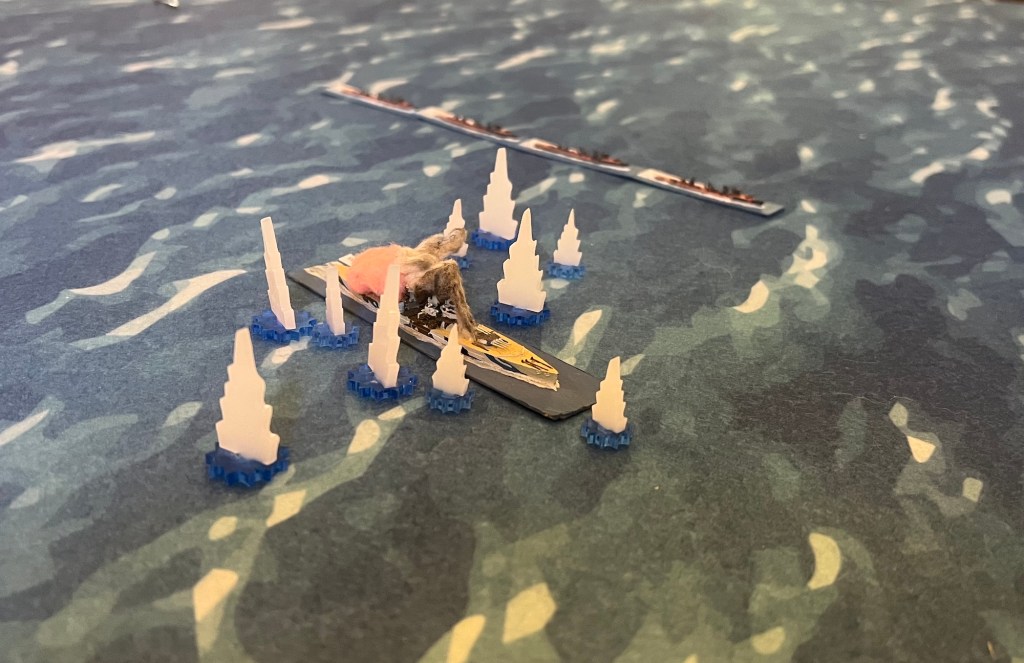
0749 T32. HMS Prince of Wales continues on course 245 at 4 knots. Asashio and Michishio each launch four torpedoes at close range. PoW struck by two of these doing massive hull damage and flooding. Captain Leach gives the order to Abandon Ship. HMS Prince of Wales is lost (roll d12 to determine how many turns until she sinks, rolled “2”).
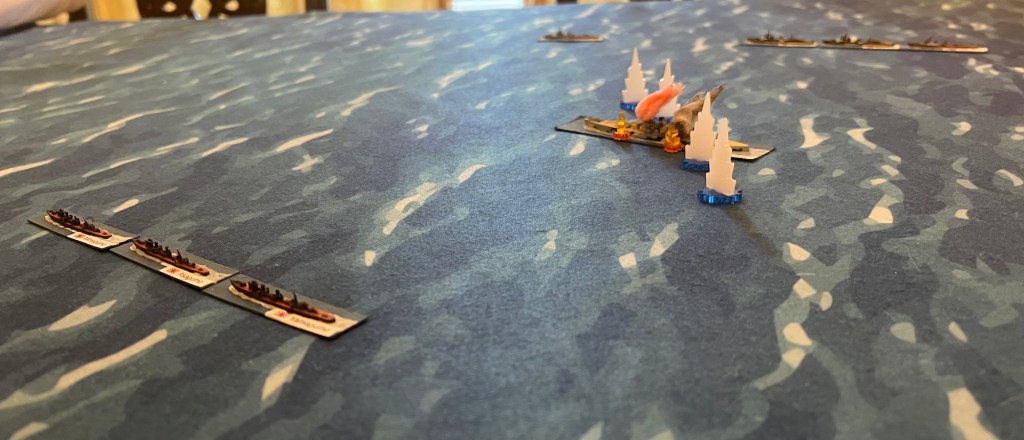
0801 local HMS Prince of Wales plunges into the deep.
As the Japanese player, I can only see this battle as a campaign win for the Allies. Instead of the historical near bloodless destruction of Force Z, the Takao, Inazuma, and Arashi will need to return to Japan for major repairs and other ships to Cam Ranh Bay for local repairs. On the other hand the Allies lost two destroyers with a third (along with Repulse) yet to be resolved to complete Turn 0 of the campaign (follow up air attacks). I will see whether my initial assessment of the impact of this battle is correct or not. In terms of the campaign, the Japanese successfully complete the landing in northern Malay.
The battle quickly became a long pursuit with the British effectively using smoke to shield Prince of Wales from Kongo and Haruna. I should have unleashed the Japanese cruisers and destroyers from the battlecruisers twelve minutes earlier than I did, allowing them close a bit sooner. I also should have ordered the cruisers to break contact when the destroyers began to engage the British destroyers, saving them from the additional damage they took. Fortunately these errors were partially compensated by the quick loss of the Electra, simplifying the task for these Japanese light units.
Overall the British gunnery was better than mine. The rapid loss of both of the battlecruisers’ spotter aircraft to the Allied AA threw my original plan into the dustbin. The Japanese cruisers were frequently hit over the three hour battle by 14” shells. I was fortunate that no critical damage was done during this period. Not only did the return fire from the cruisers hit less frequently, their 8”often didn’t penetrate Prince of Wales’ armor. But they did accomplish their role in splitting the British fire which gave the destroyers a better chance to close.
We are currently scheduling when we will work through Turn 1.


Leave a Reply